
Anatomy of an RV Water Leak
Postscript to Anatomy of an RV Leak
My wife said that I’m “fearless” when I do RV repairs. On the other hand, I’d describe my attitude as something between the OZ’s Cowardly Lion and a bull in a China shop.
Anyway . . .
On our last (actually our first) Sea View RV outing, I noticed water leaking into one of our motorhome’s basement compartments. At first I brushed it off, hoping it would just solve itself and go away, but the water just kept a coming.
So when we returned home after our outing, I decided to try tracking down the cause of the water leak.
Here’s the story . . .
DISCOVERY

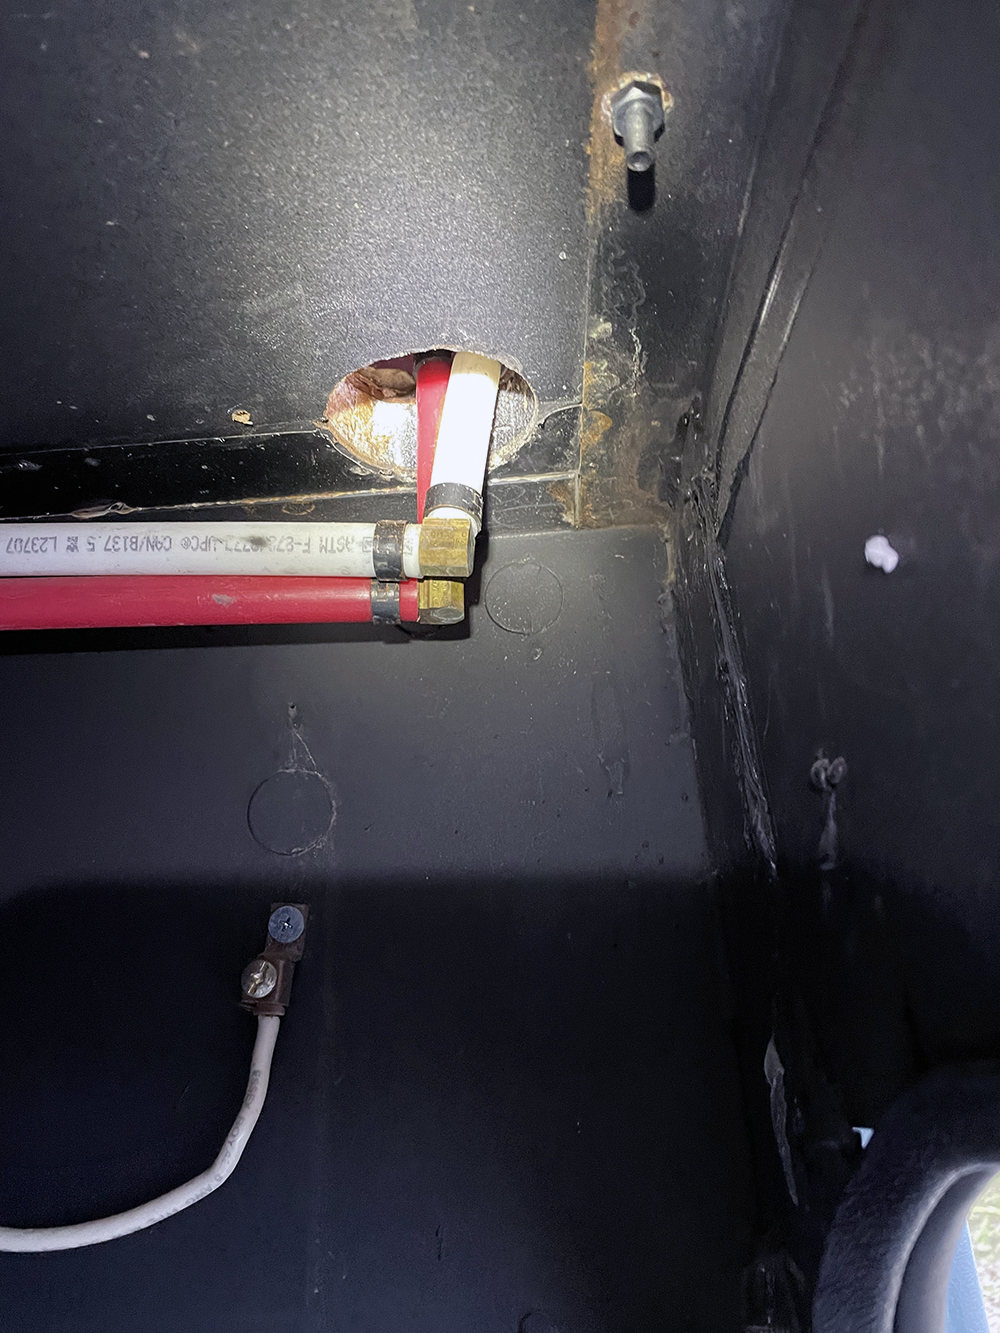
THE FIRST CUT IS THE DEEPEST
The leaking water lines ran underneath our shower tub and were pretty much inaccessible.
At first I thought the leak was coming from one or both of the basement 90-degree water line connections. But I wasn’t sure, and even if these connections were the cause, I couldn’t access them.
So . . .


THE SECOND CUT WAS A LOT EASIER
Now I knew that the leak originated under the shower tub . . . somewhere.
I decided to make another inspection hole so that I could see under the tub near the shower faucet . . .


FOUND THE LEAK!
To pin down the exact thing that was leaking, I figured the leak had to originate in the shower controls.


THE FIX
Originally, I did not want to attempt to fix the leak. We are leaving on another RV trip this Wednesday, and I didn’t want to do anything that would put our Sea View out of action.
But what the hell . . .
So, I needed to remove the leaking fitting and replace it with another. Easier said than done.
First, remove the shower head controls. No problem.
Next, remove the leaking fitting (a 1/2″ PEX elbow). Dicey. I used my Dremel tool with a rotary cutting head.
Finally, enlarge the shower head control opening so that attaching a new fitting wouldn’t be a problem.


CLEAN UP
Patching those holes . . .


