It’s Fall
We were all set to post a bunch of Fall color pictures, but then the rain came . . .


Pictures BEFORE today’s rain . . .


Oct 25
We were all set to post a bunch of Fall color pictures, but then the rain came . . .
Pictures BEFORE today’s rain . . .
Oct 24
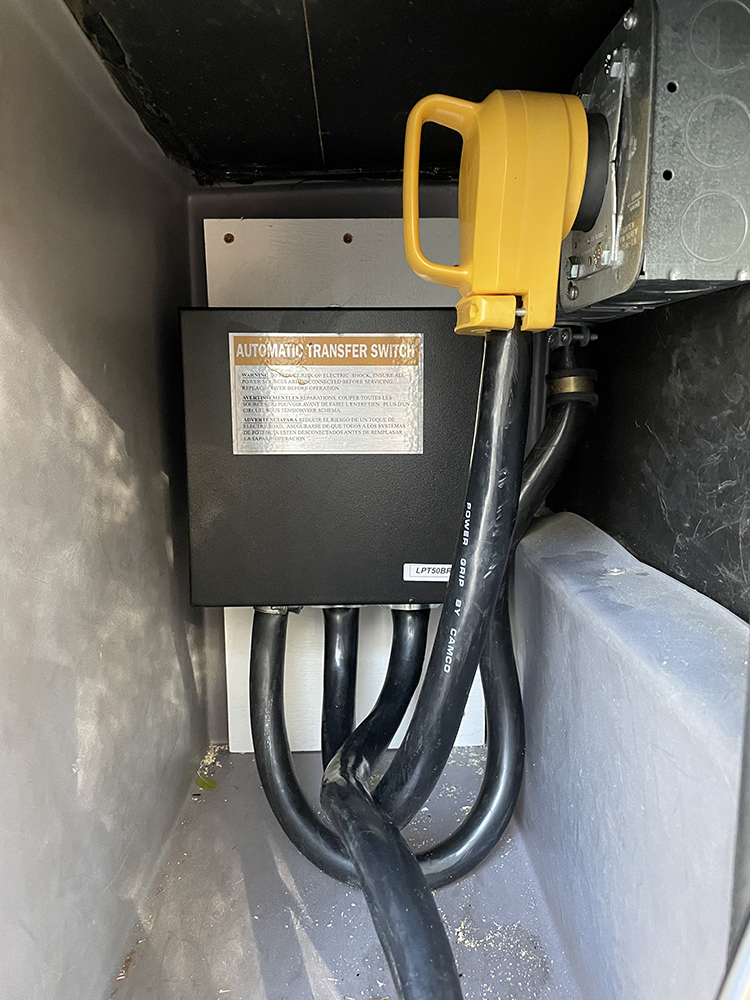
Sunday & Monday, October 10 & 11 – Transfer Switch Install
We bought a Lyght 50A Automatic Transfer Switch from Amazon.It’s the same switch we installed on our 2001 Newmar so we felt comfortable installing it. This transfer switch uses DC relays to reduce hum. It works.


Tuesday thru Friday, October 12 thru 15 – Surge Guard Install
This was a PITA.
The RV electrical compartment is very small, so there were limited (ie, one) options . . .
The Southwire 35550 Surge Guard had to be mounted ON the transfer switch itself.
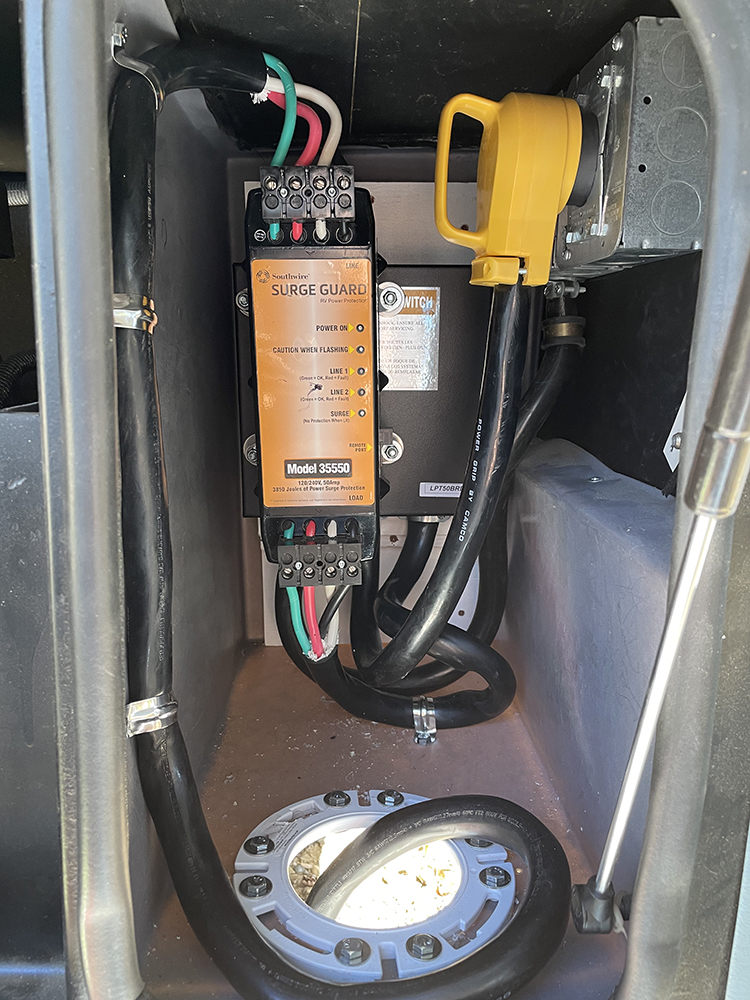
The wiring into and out of the Model 35550 surge guard leaves a lot to be desired. For example, while the screw-down wiring posts secure the wire well enough, there is no protection for the wires into and out of the unit. The surge guard installation instructions tell you to secure the wires within 7″ of the unit, that didn’t seem enough for us, especially in this cramped electrical compartment.
So we installed a plywood faceplate over the entire Model 35550 . . .

Friday thru Sunday, October 15 thru 17 – Surge Guard Monitor Install
This was especially tricky. Here’s the finished product . . .


Next, we have to give a shoutout to the no-longer-existing National RV company for their workmanship.
One of the biggest PITA when running wire under an RV is getting it from compartment to compartment without drilling through walls. In this case, our thick steel Sea View walls.
But National RV provided a VERY CONVENIENT solution: Knockouts. You know, those circular tabs on metal electrical boxes that you can “knock out” to run wire.
National RV put knockouts on our Sea View’s compartment walls . . .


Oct 23
Ok, we brought our new-to-us 2001 National RV Sea View RV home to Mariposa on Tuesday, October 5th.
We’ve been very busy getting it ready for next year as we plan to travel back to Wisconsin in Spring.
Though winters in Mariposa are nowhere as bad as Wisconsin winters, it still gets cold here which making working outside problematic. So we’re rushing to get as much done as we can.
Here’s what we’ve been up to . . .
Day 1 – Wednesday, October 6
Inspected the major systems: water, electrical, and HVAC as much as possible. For example, tested both AC to see how much they cooled. Very much in fact. Then tested the propane heater. Fine also. Turned the refrigerator on and tracked the freezer and fridge temperatures. Both were very much in spec – freezer < 10 degrees F and fridge < 40 degrees F.
The hot water heater works, but the relief valve leaks so ordered a replacement. Found out that our water heater runs only on propane, not electricity.
Discovered that our Sea View does not have a transfer switch that switched between external (“shore”) power and our RV generator. To use the generator, you have to physically attach the shore power cable the generator’s outlet. Since both our other RVs had an automatic transfer switch, we’ll be installing one on the Sea View (more on that later).
Day 1 Photos


Day 2 – Thursday, October 7
Because the couch was not long enough to lay on comfortably, we decided to remove it and eventually replace it with one to two recliner chairs.
The bedroom mattress went the way of the dumpster too.
Day 2 Photos


Day 3 – Thursday, October 7
Just one item on the agenda . . . Dumping the RV’s waste tanks at the nearby Mariposa Fairgrounds . . .

Oct 10
On Monday, October 4th we inspected and then purchased our new-to-us 2001 National RV Sea View at DeMartini RV in Grass Valley, CA.
DeMartini did a PDI (Pre-Delivery Inspection) on Tuesday, fixing the generator and water pump, and we drove it home that day.
For more info, see Our RVs above.


