Wildfires
BISHOP, CA (Elevation 4.150 ft)
It’s been 10 days since our last post. That was 5 campgrounds ago – mostly 1 or 2 day stops. We’re now in Highlands RV Park in Bishop, CA for a week. This is the park where we used to work some 5 years ago. It’s a cool town to visit. But getting here was the real challenge . . .
BISCAR FIRE
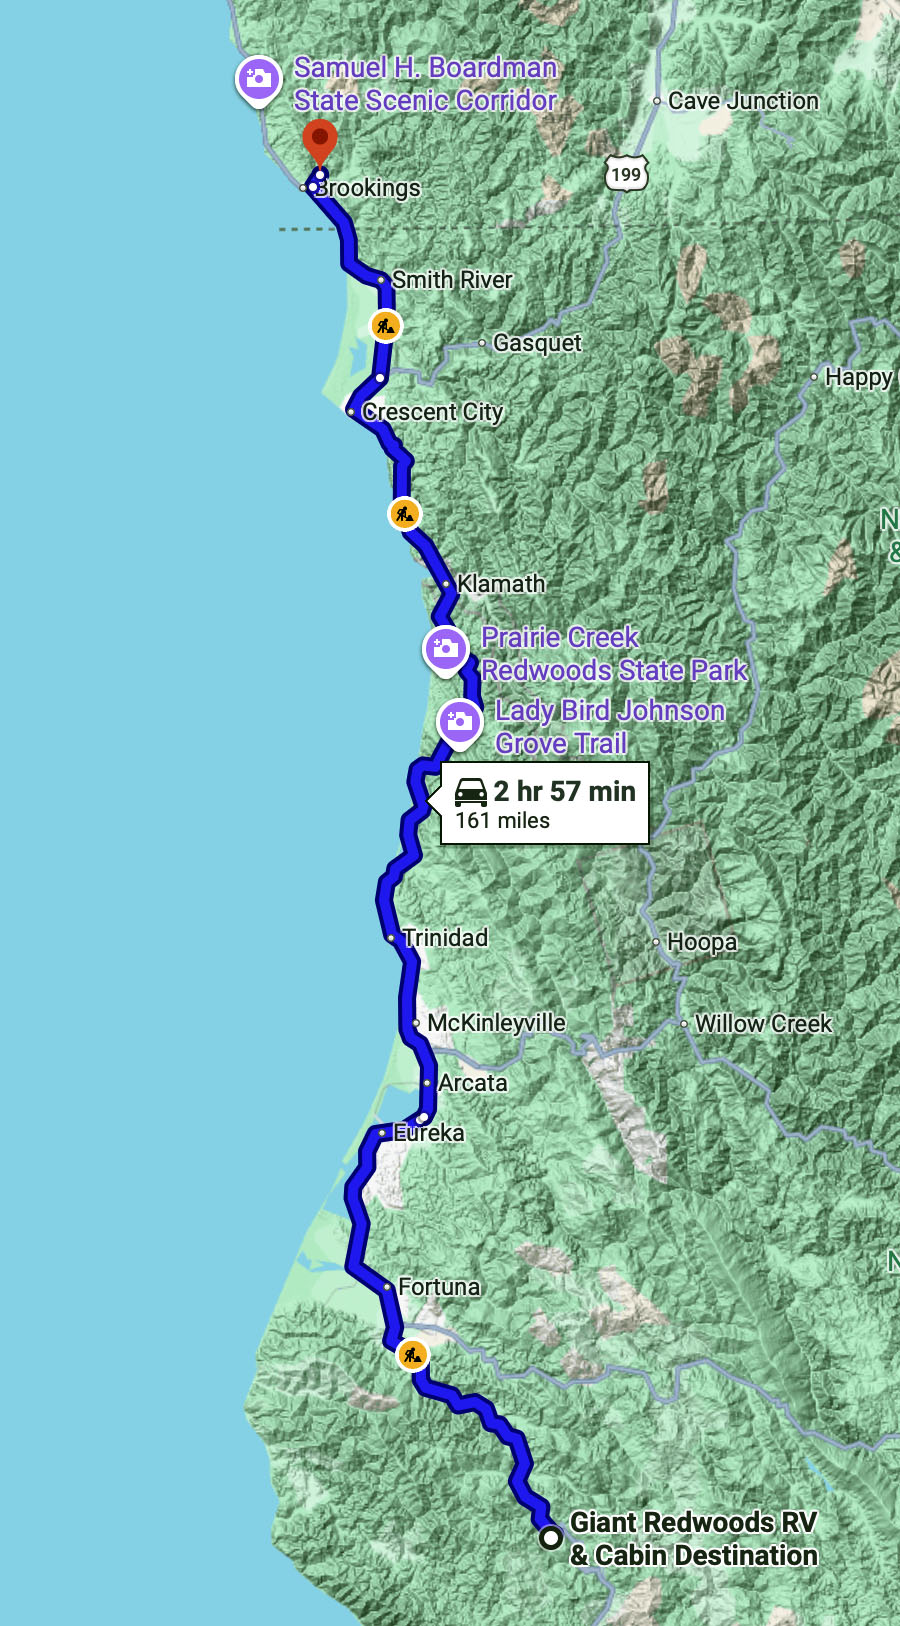
While on our way on Highway 395 from our campground in Lakeview, OR to Days End RV Park in Standish, CA, we discovered that part of Highway 395 was closed because of the Biscar wildfire.
And we had to take a detour along Highway 139 which added about 20 miles to our trip.
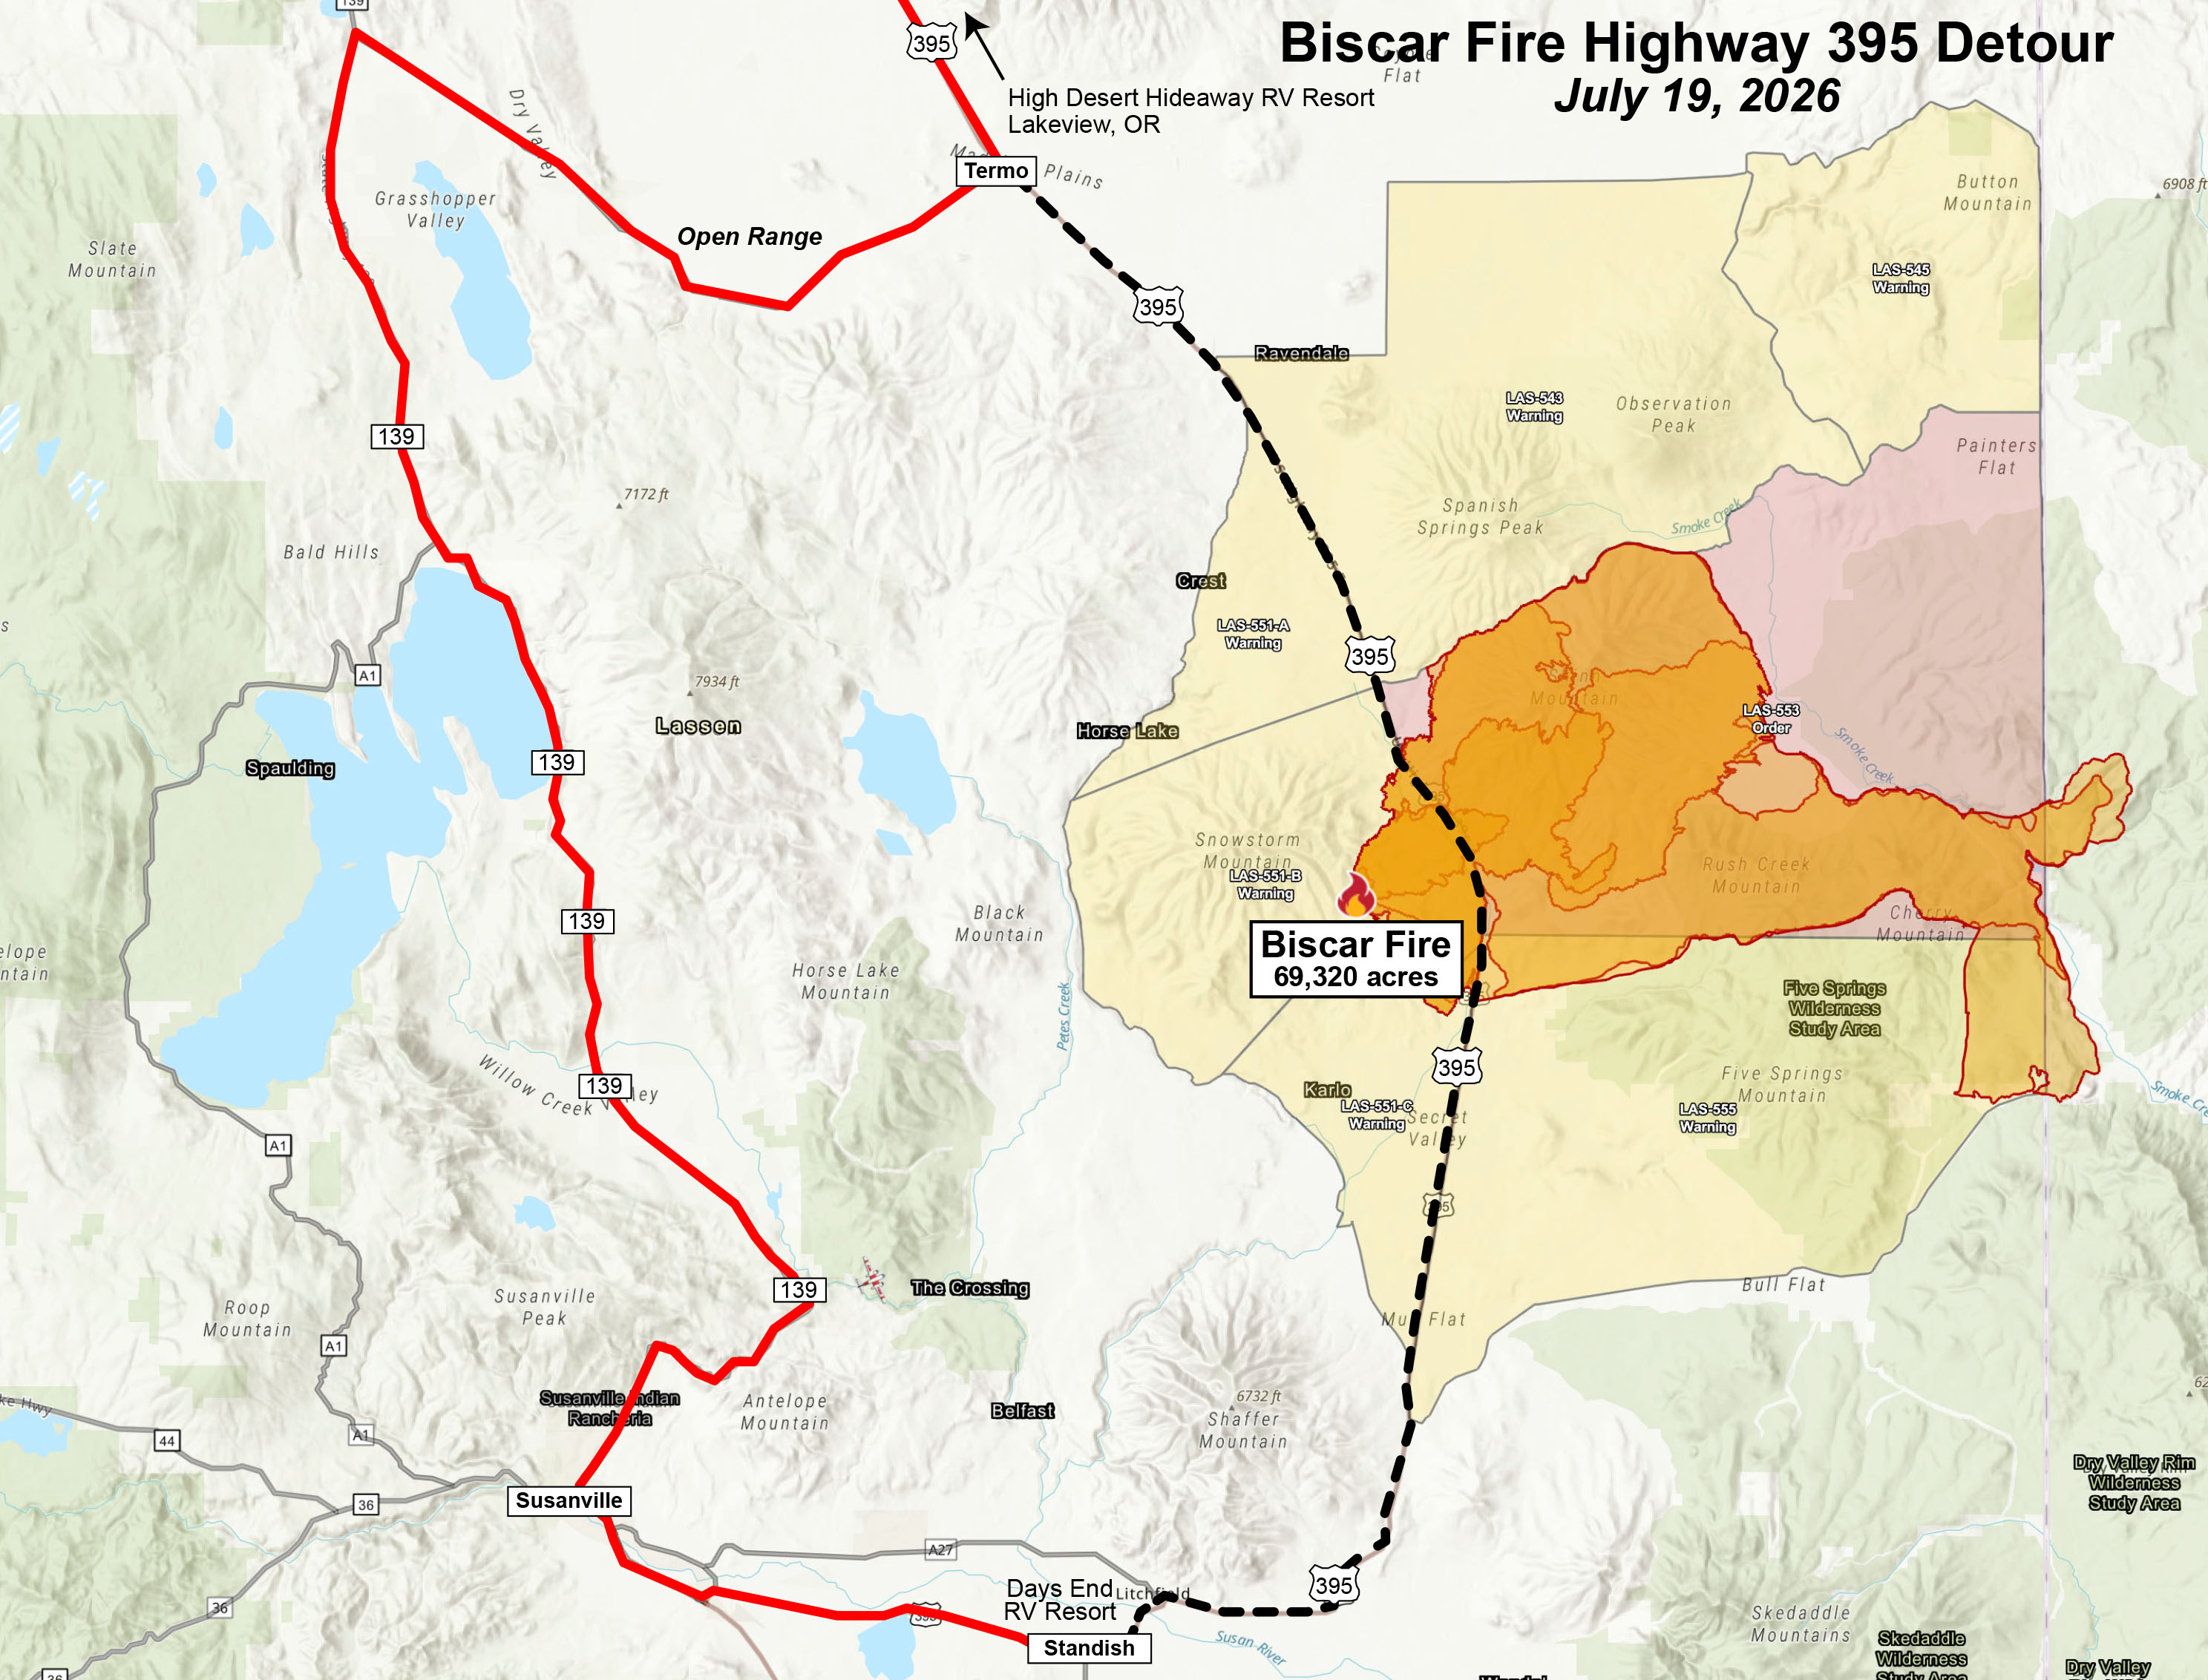
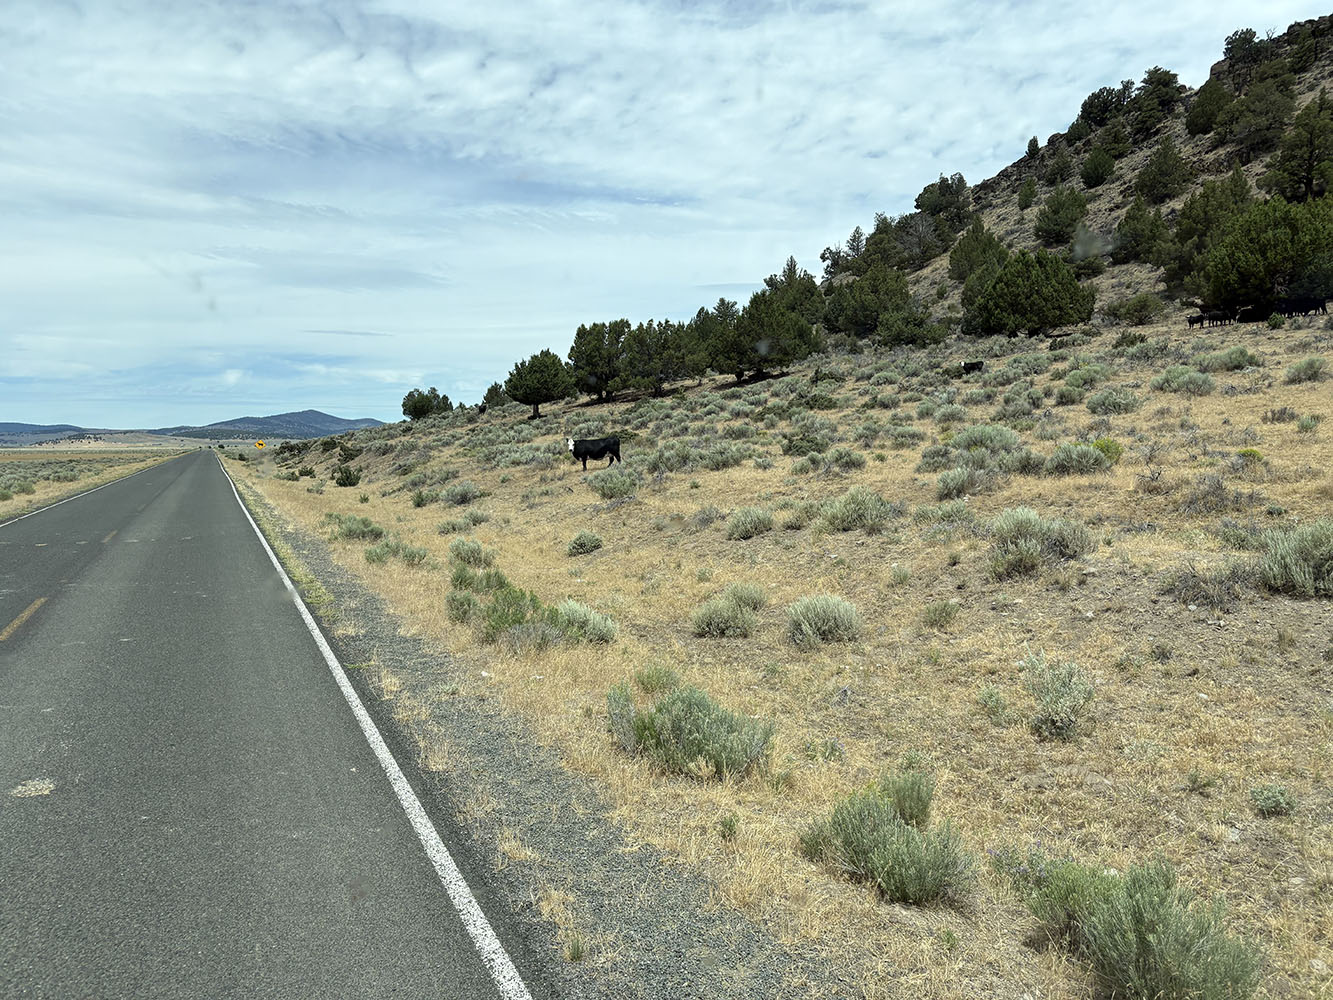
However, it was actually a great detour across a valley and open range. Open range? That’s where cattle are free to roam across fields . . . and roads . . .
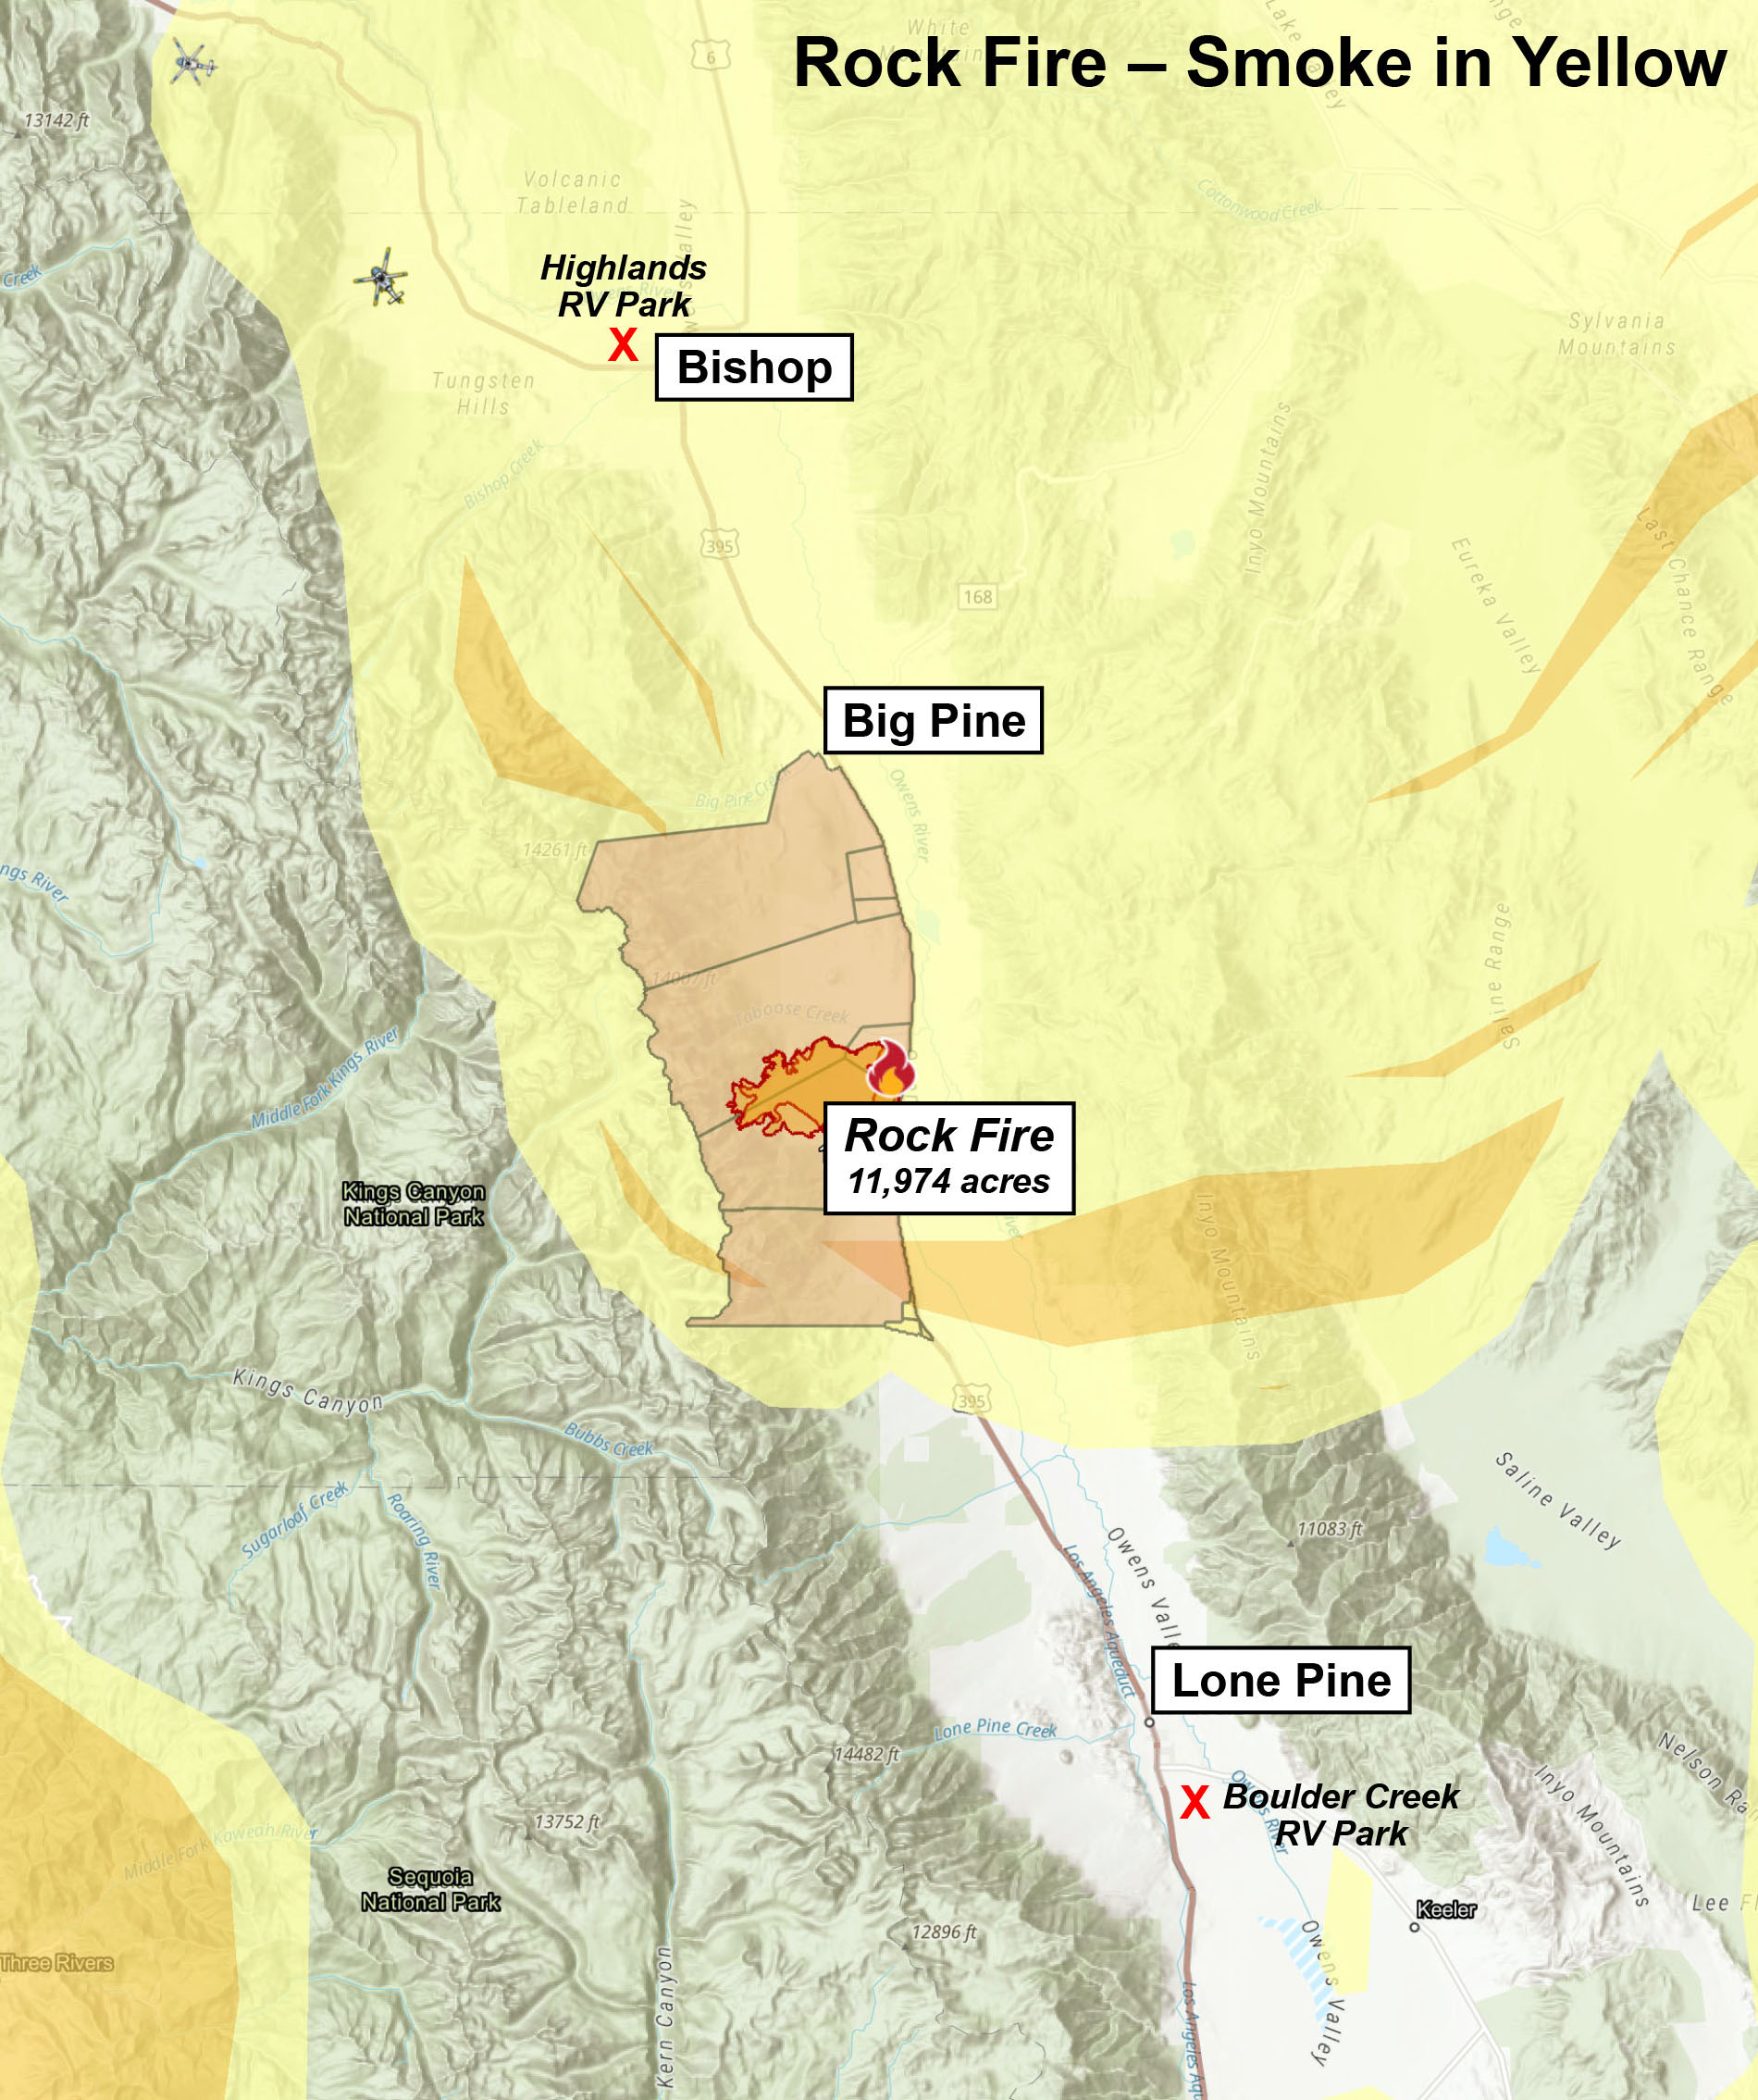
ROCK FIRE
We’re in Bishop, CA now. It’s our former stomping ground and we’re planning a day trip to the mountains where it’s cooler.
Next Wednesday we leave for our next campground (Boulder Creek RV Park) near Lone Pine along Highway 395.
We’re watching the Rock fire which has been threatening to close Highway 395 . . .
IF YOU’RE TRAVELING TO CALIFORNIA . . .
Here are a couple of resources to consider during fire season which is pretty much 12 months a year . . .

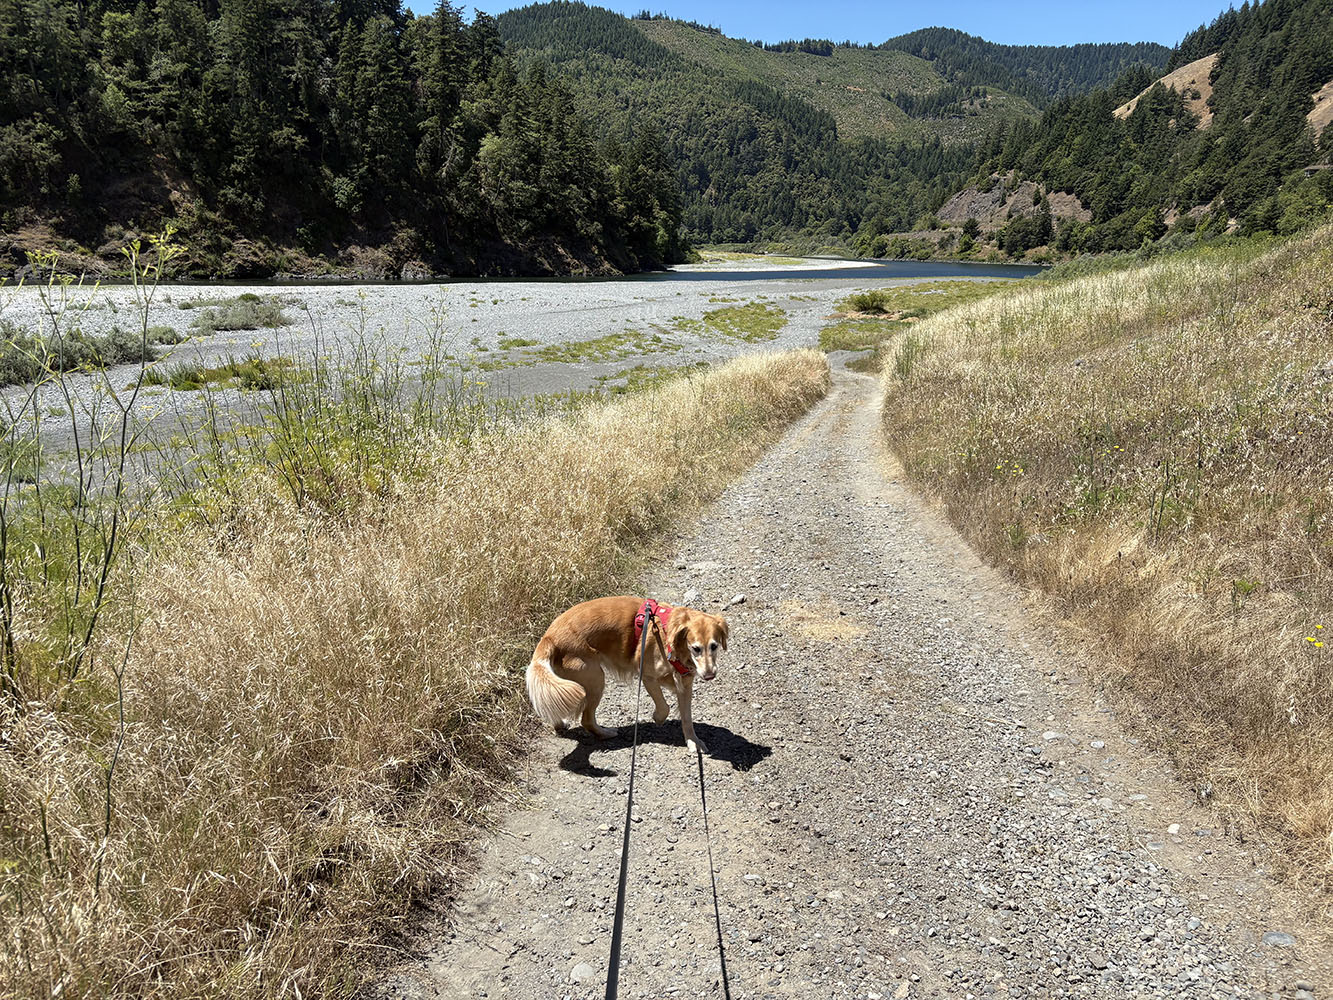
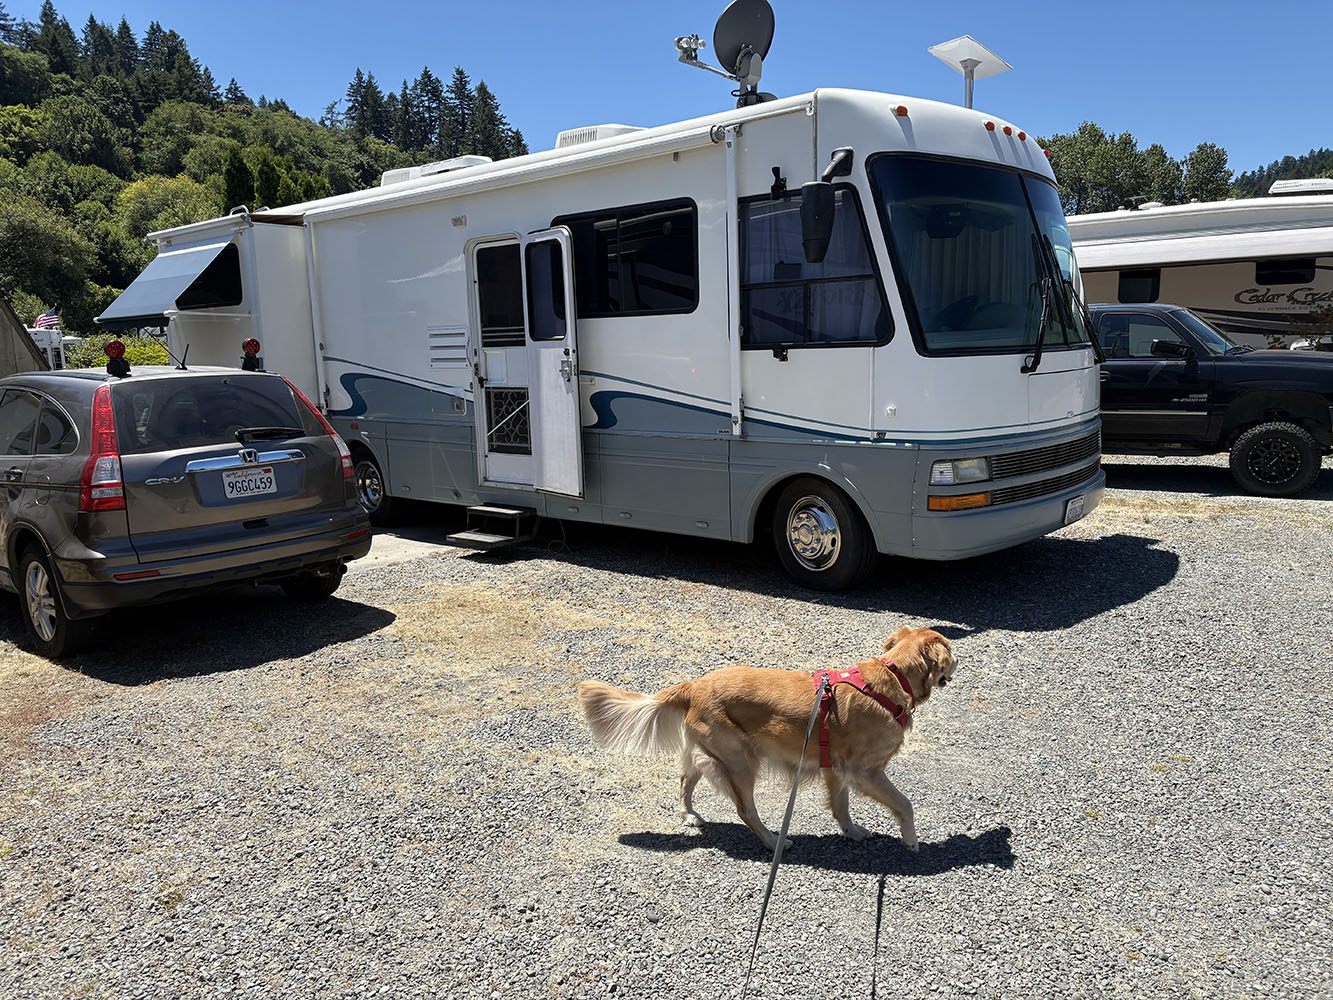
LUCY
Our Golden Lucy has taken all these fire in stride . . .