Costanoa
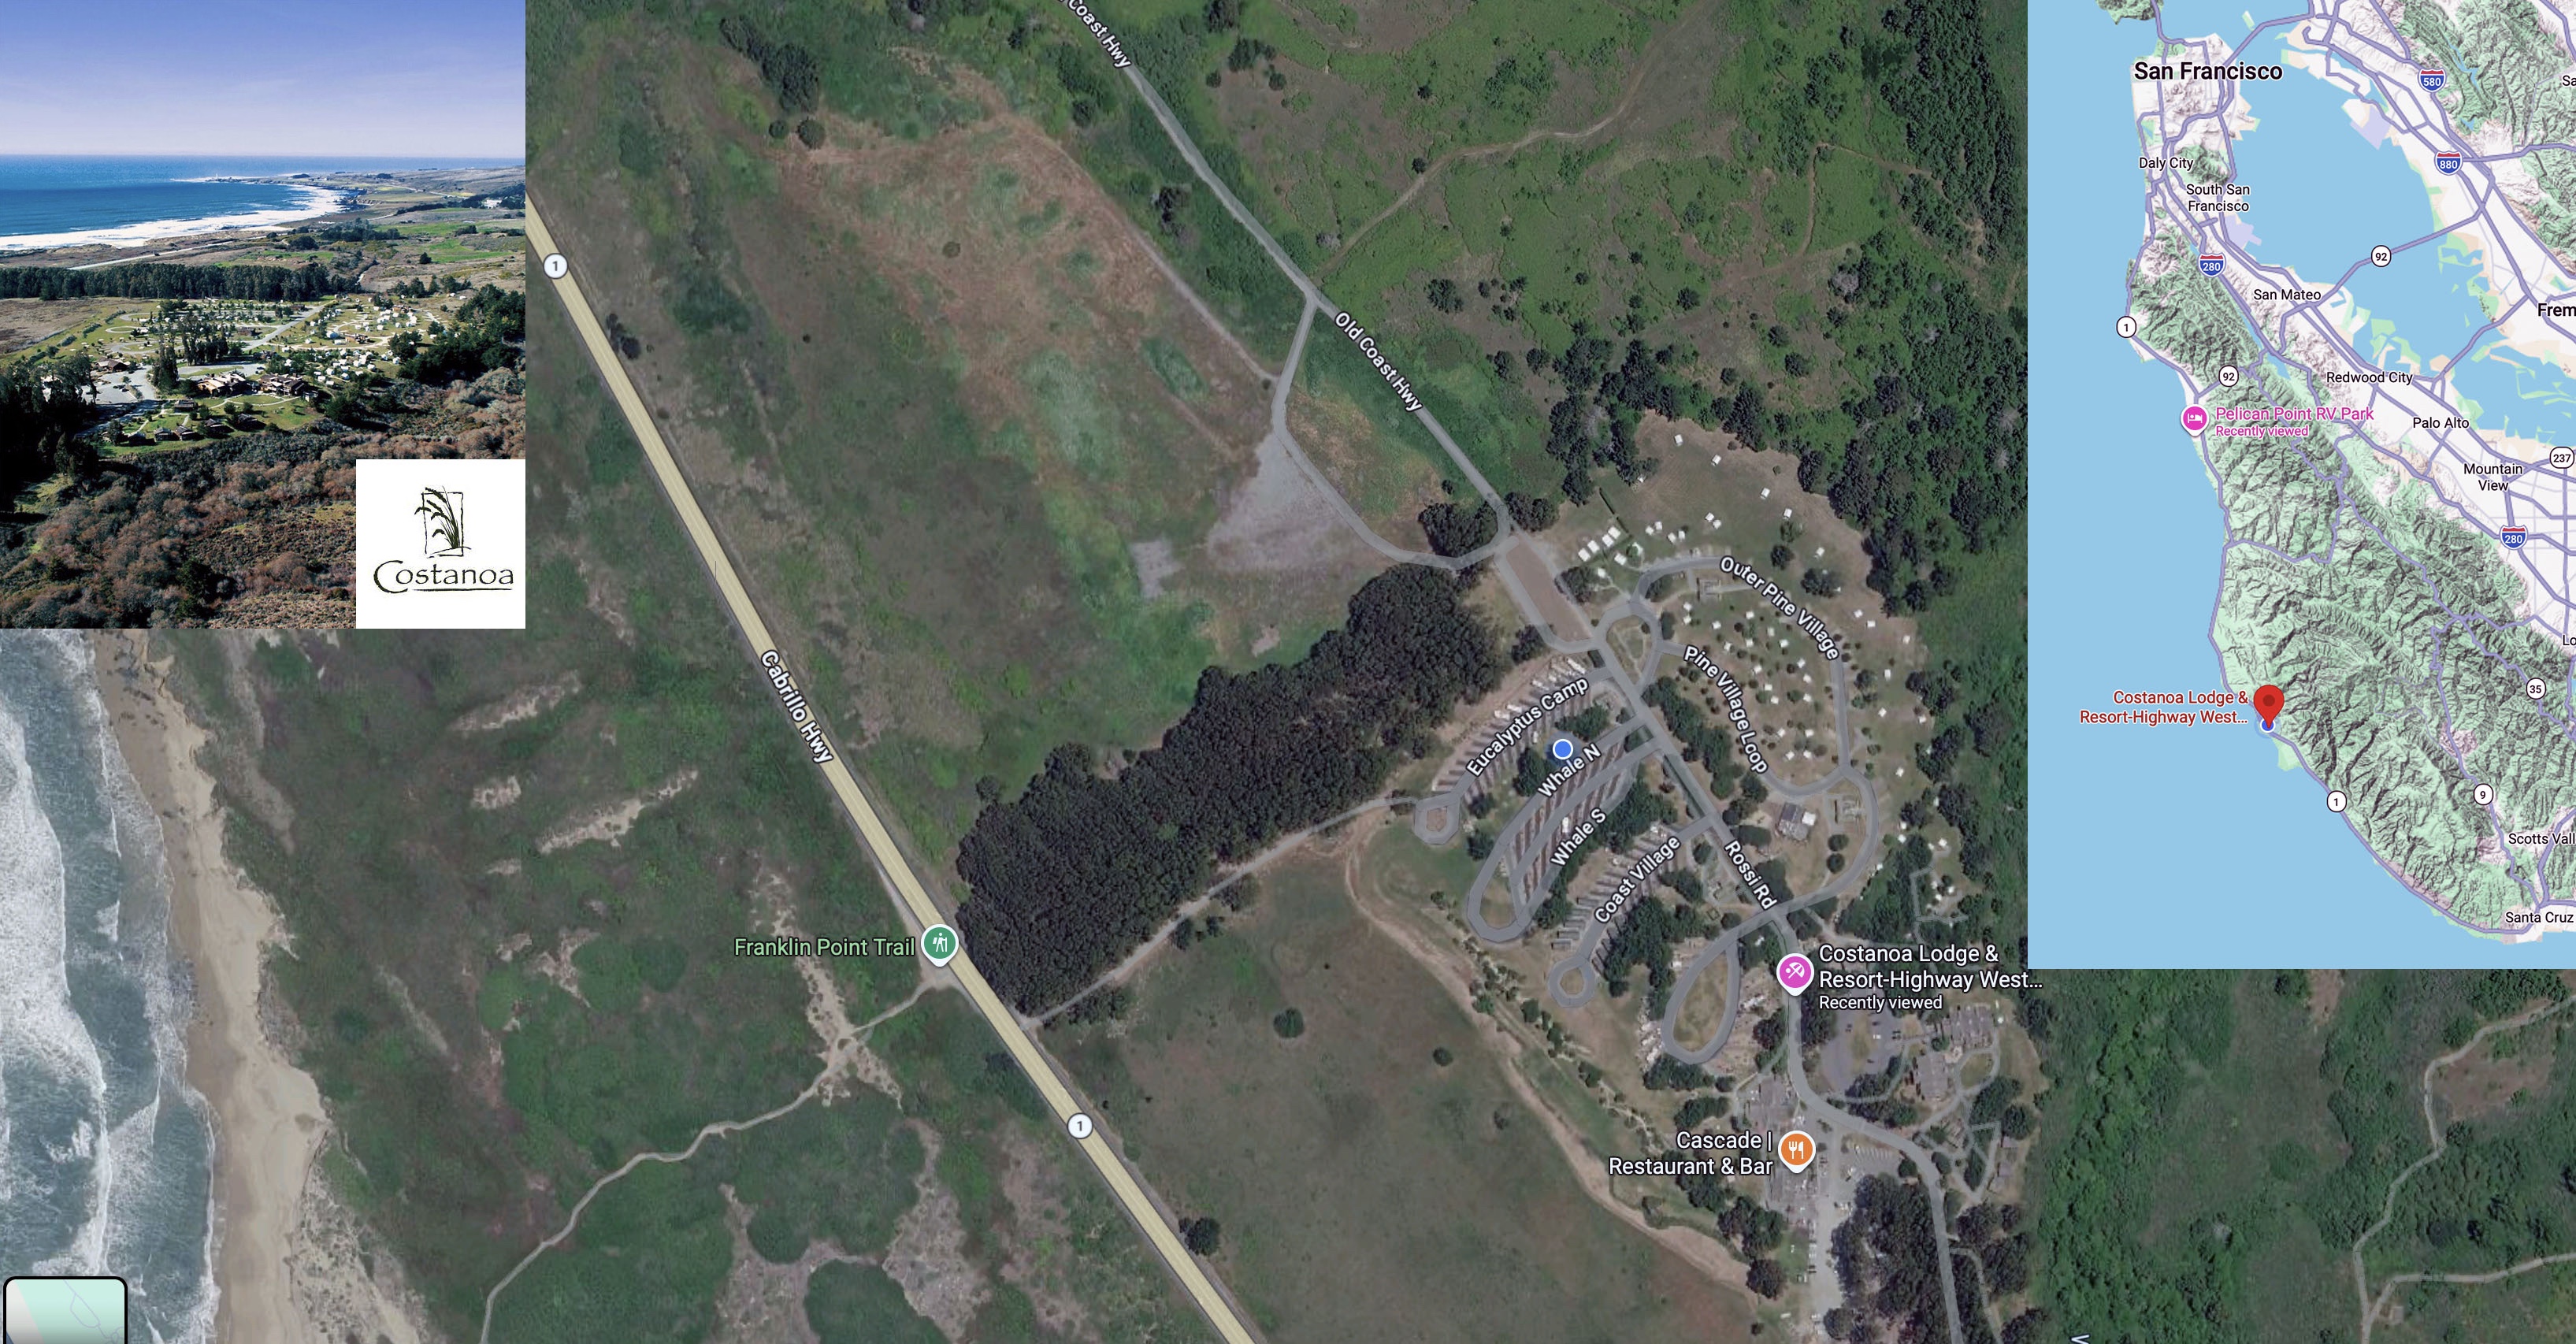
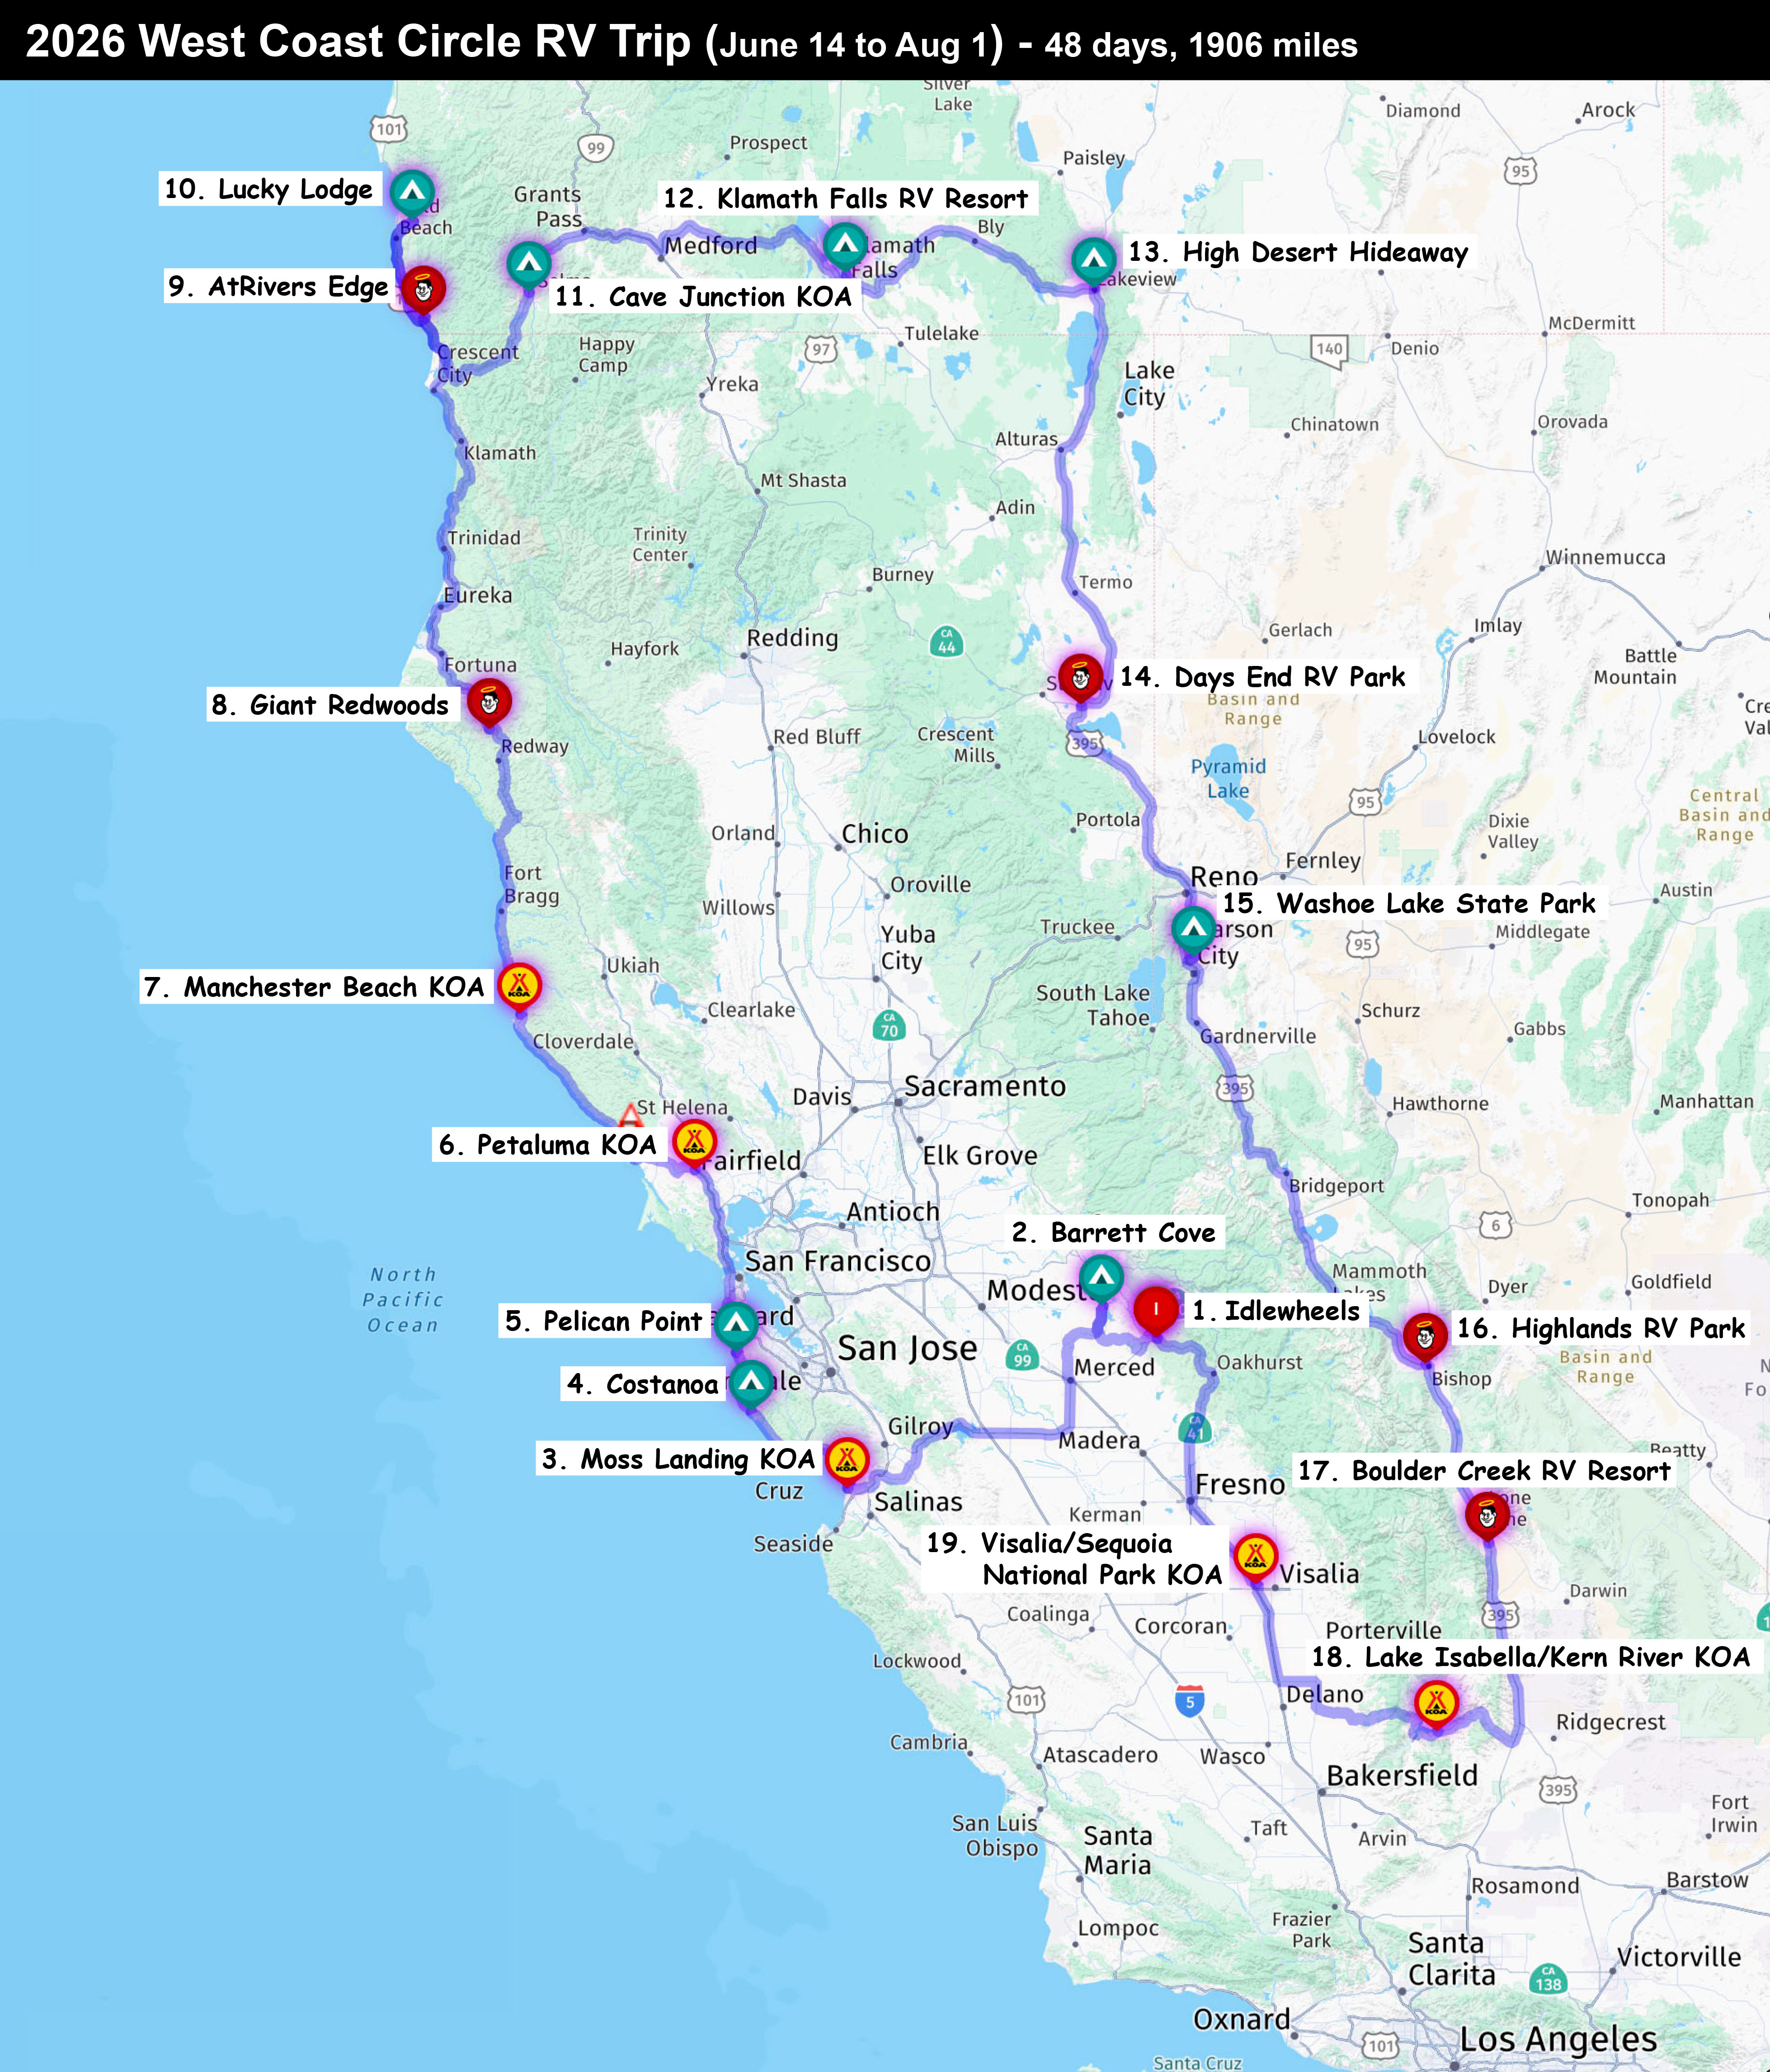
We arrived at Costanoa on Thursday, June 18th, and stayed three days. Very impressive campground, especially for kids who really made the park alive.
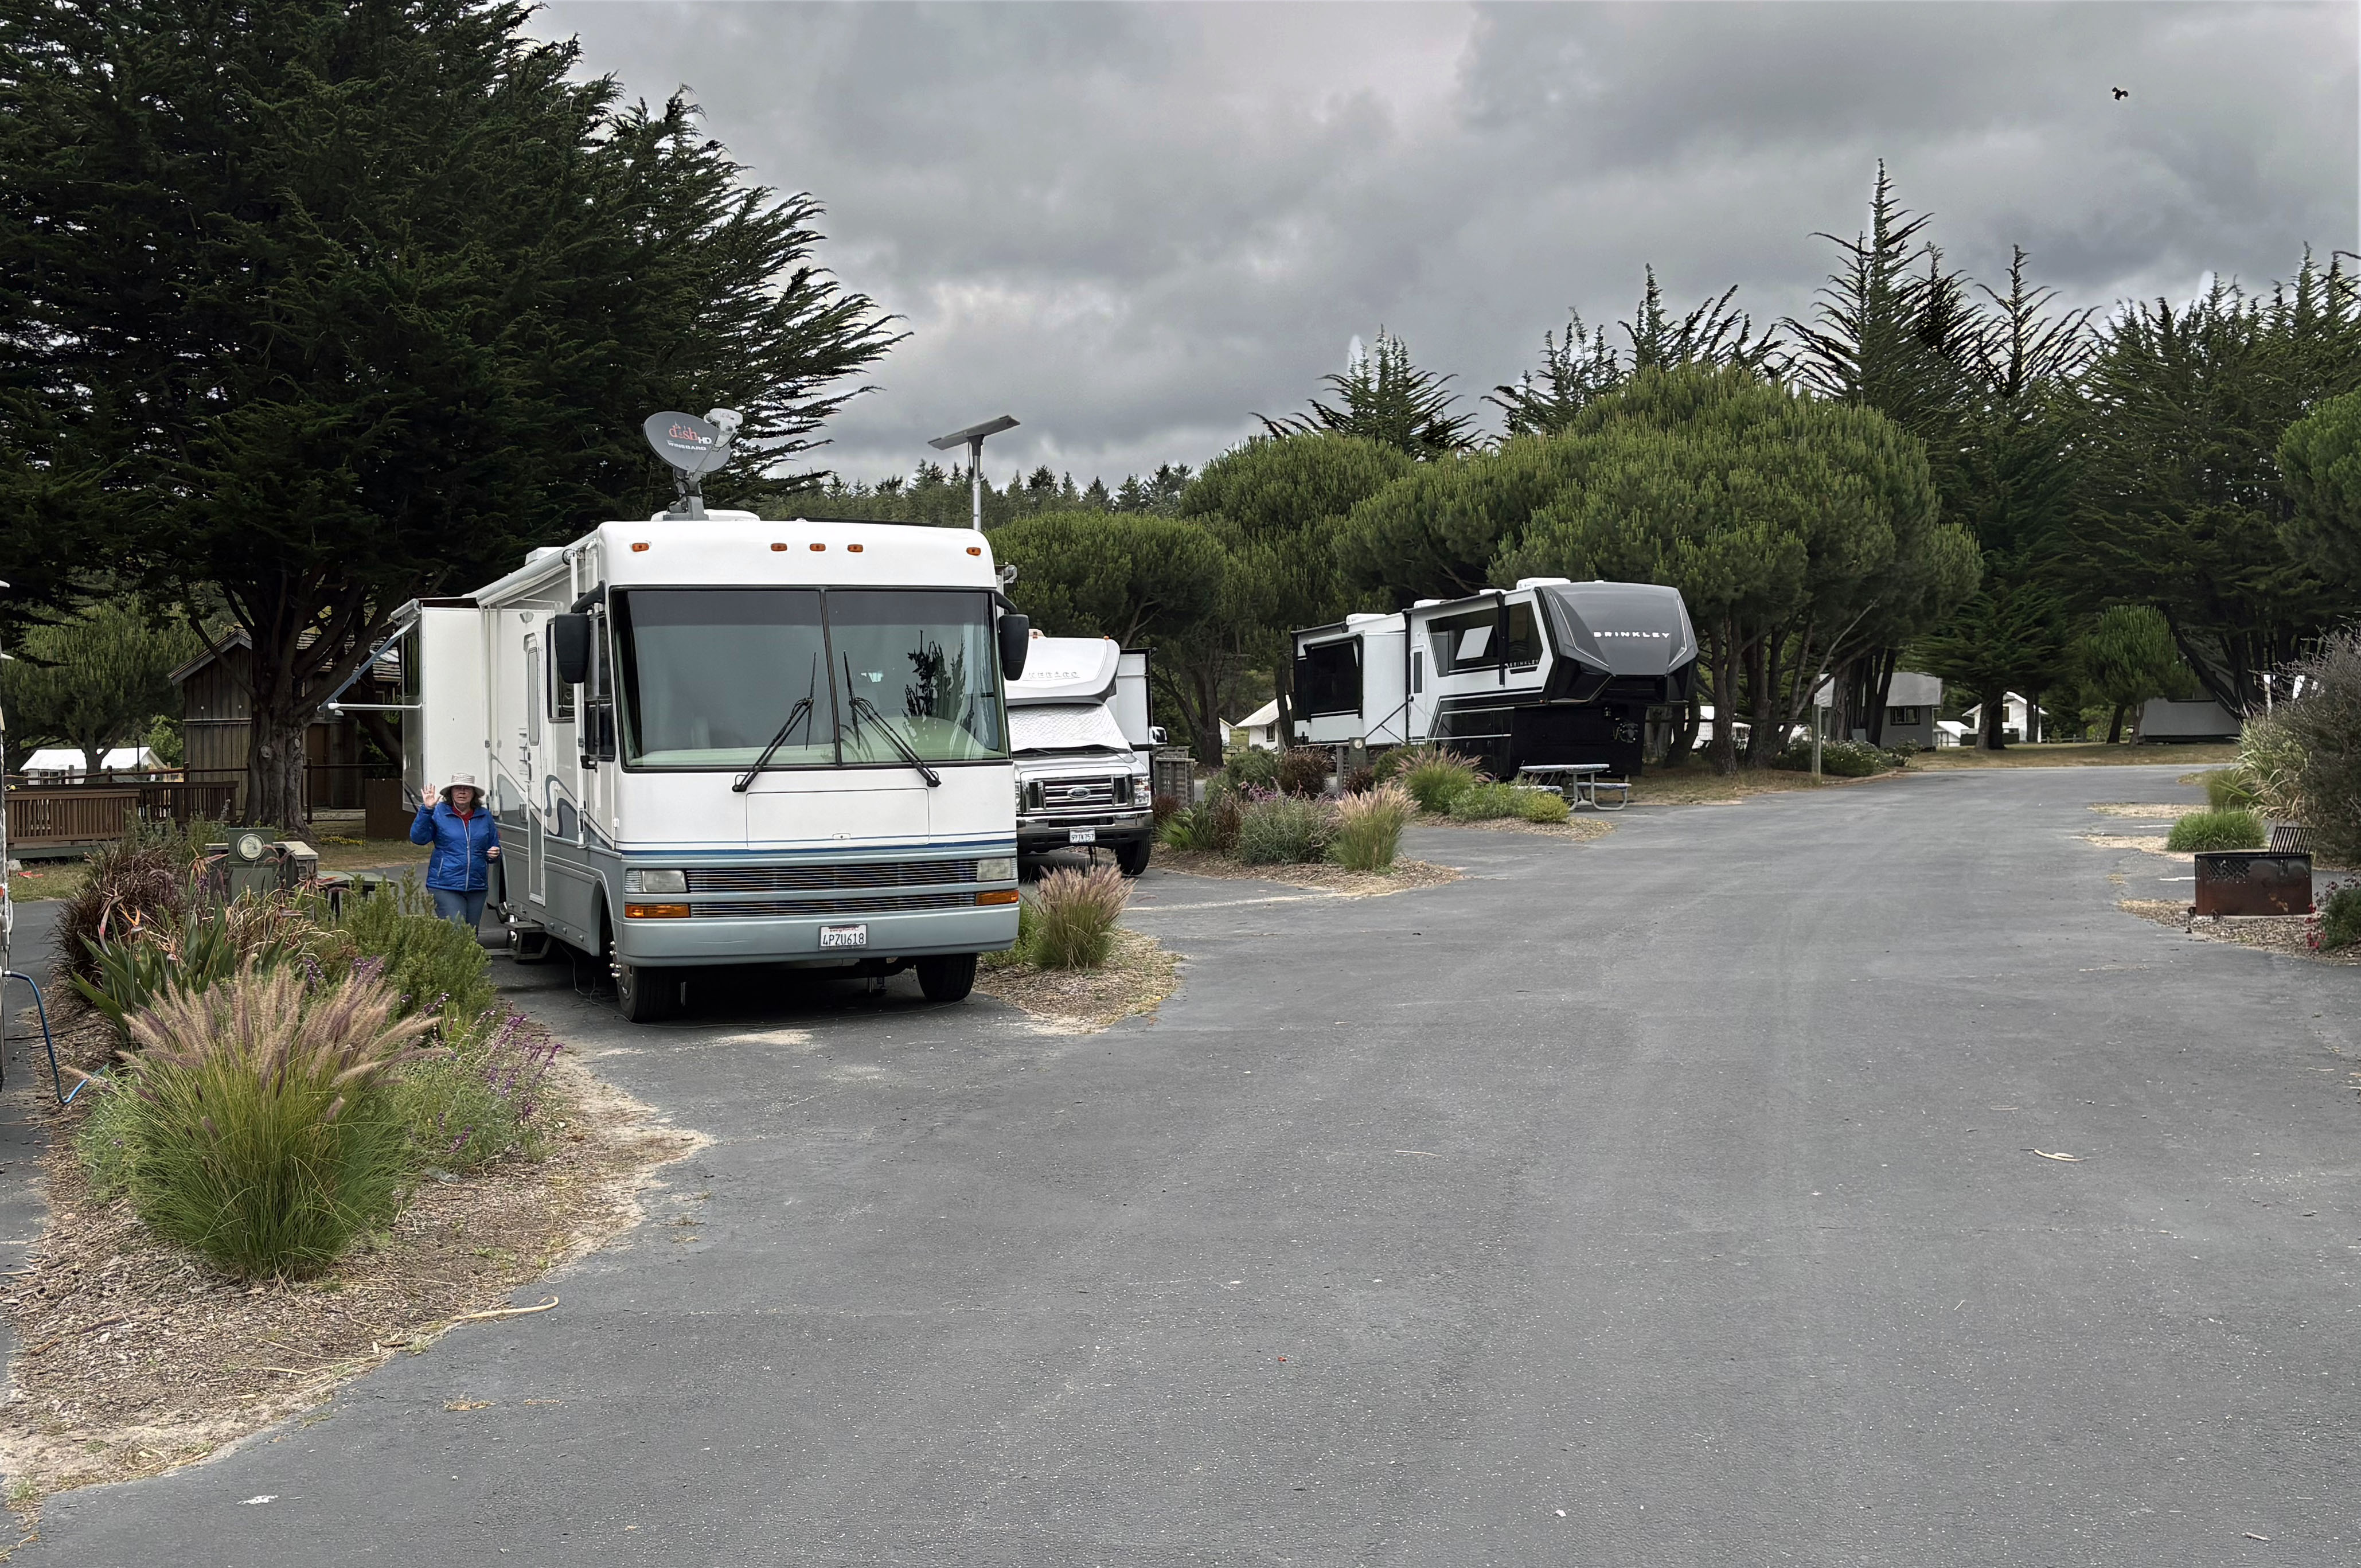
Several sites offer an ocean view, but our view was blocked by other RVs. However, there are several trails that lead to the ocean.
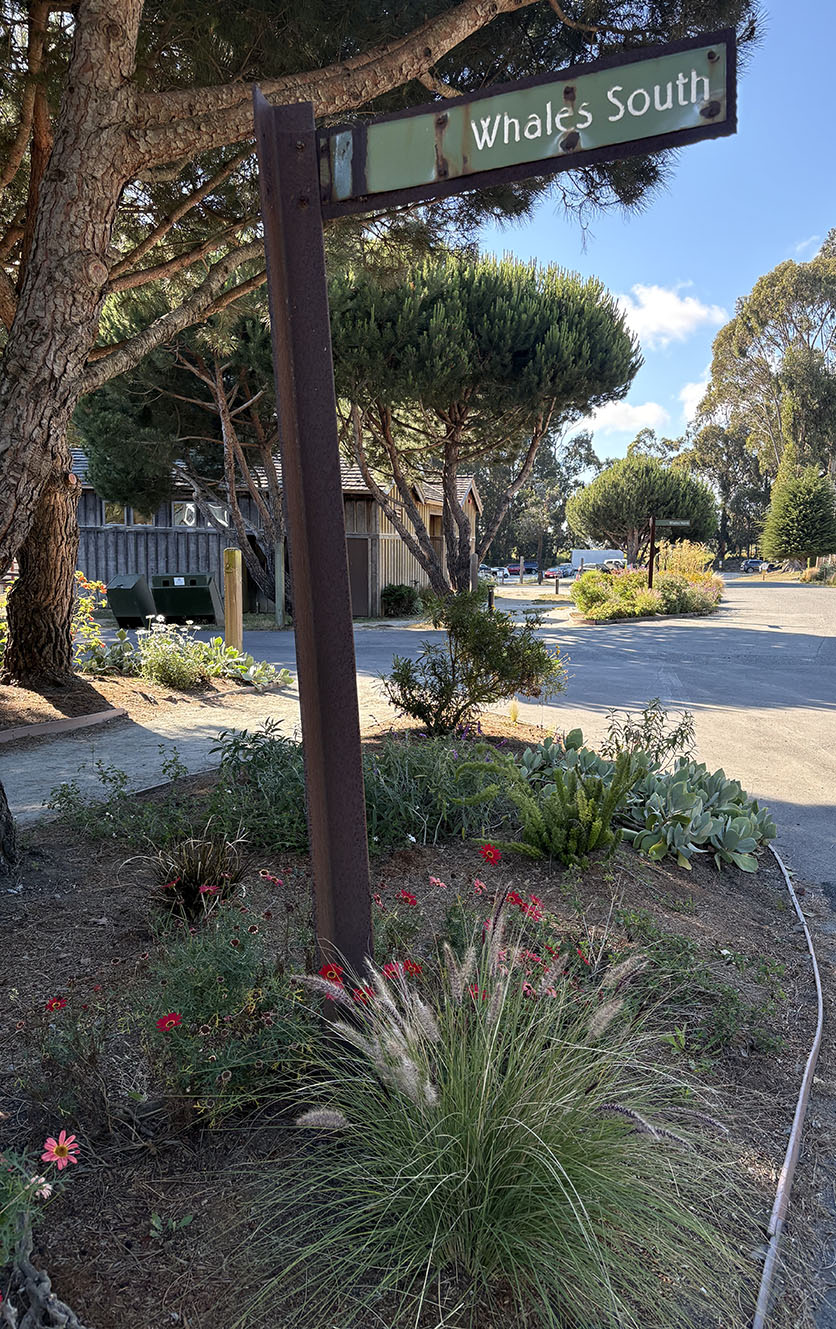
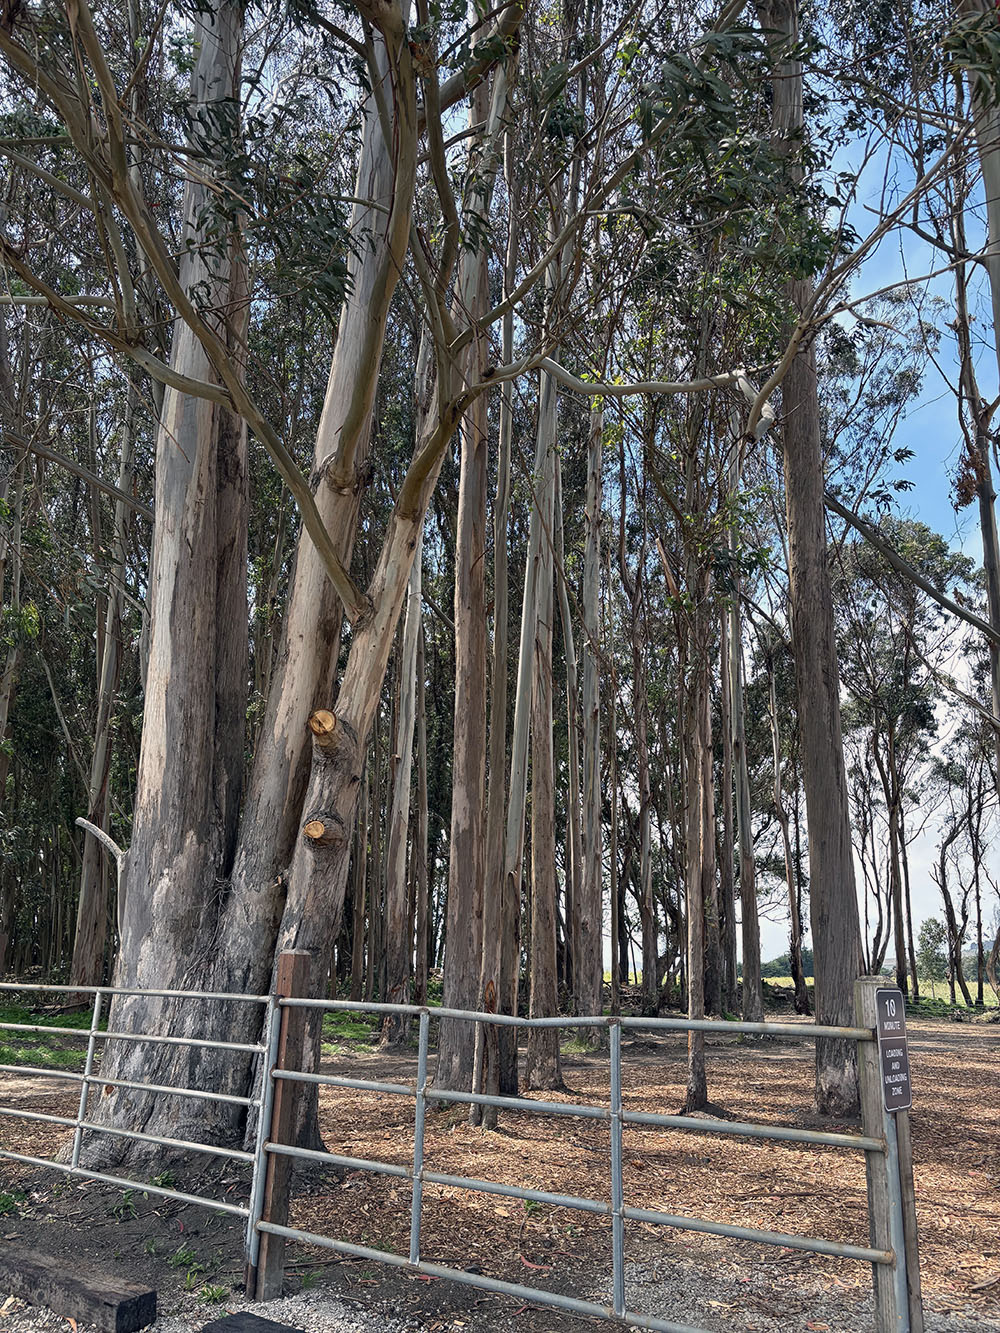
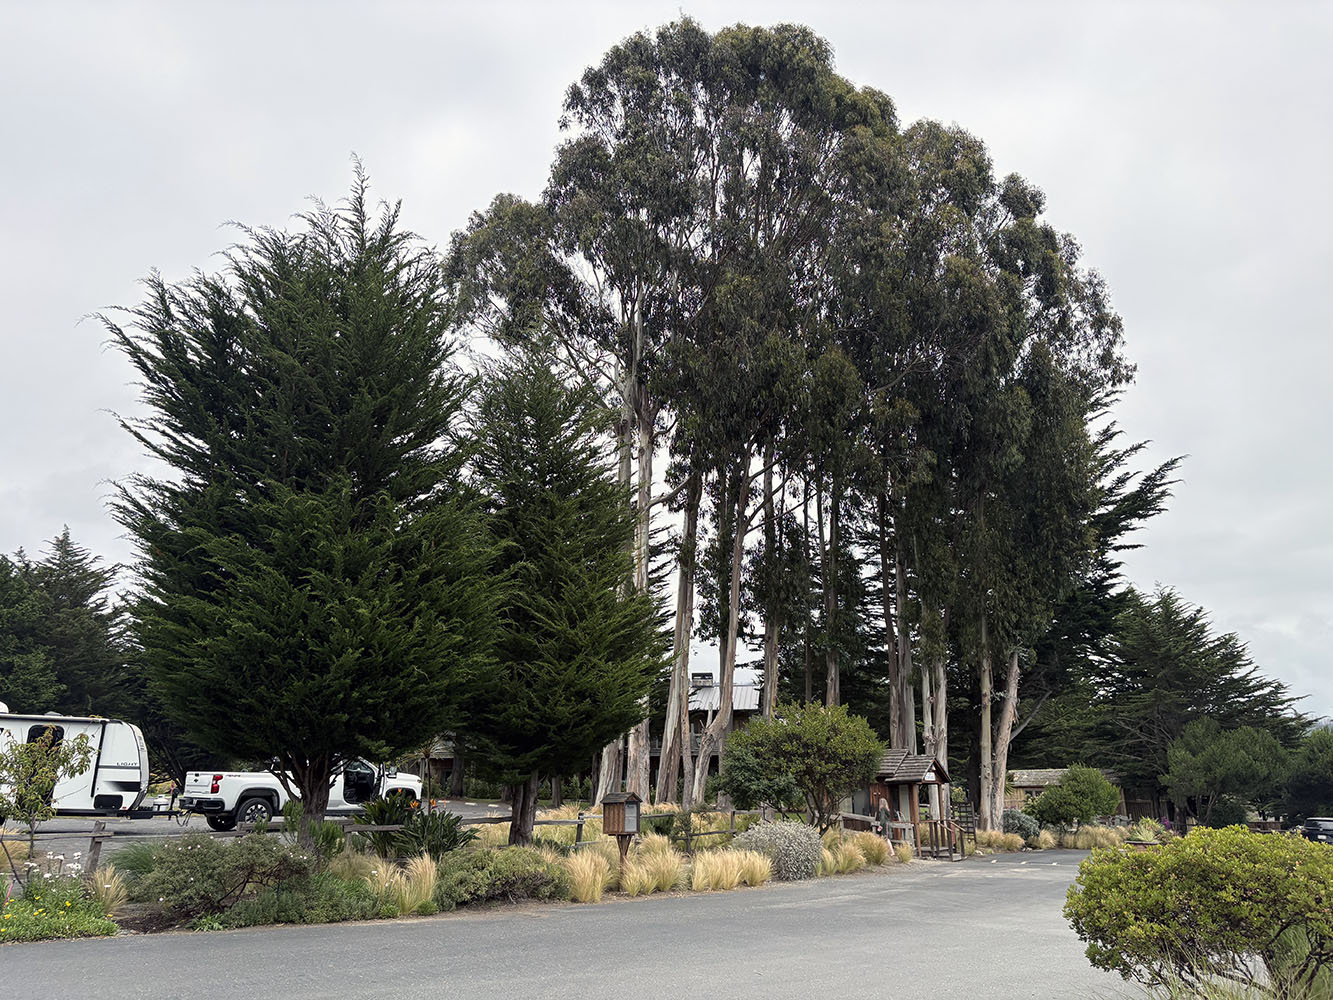
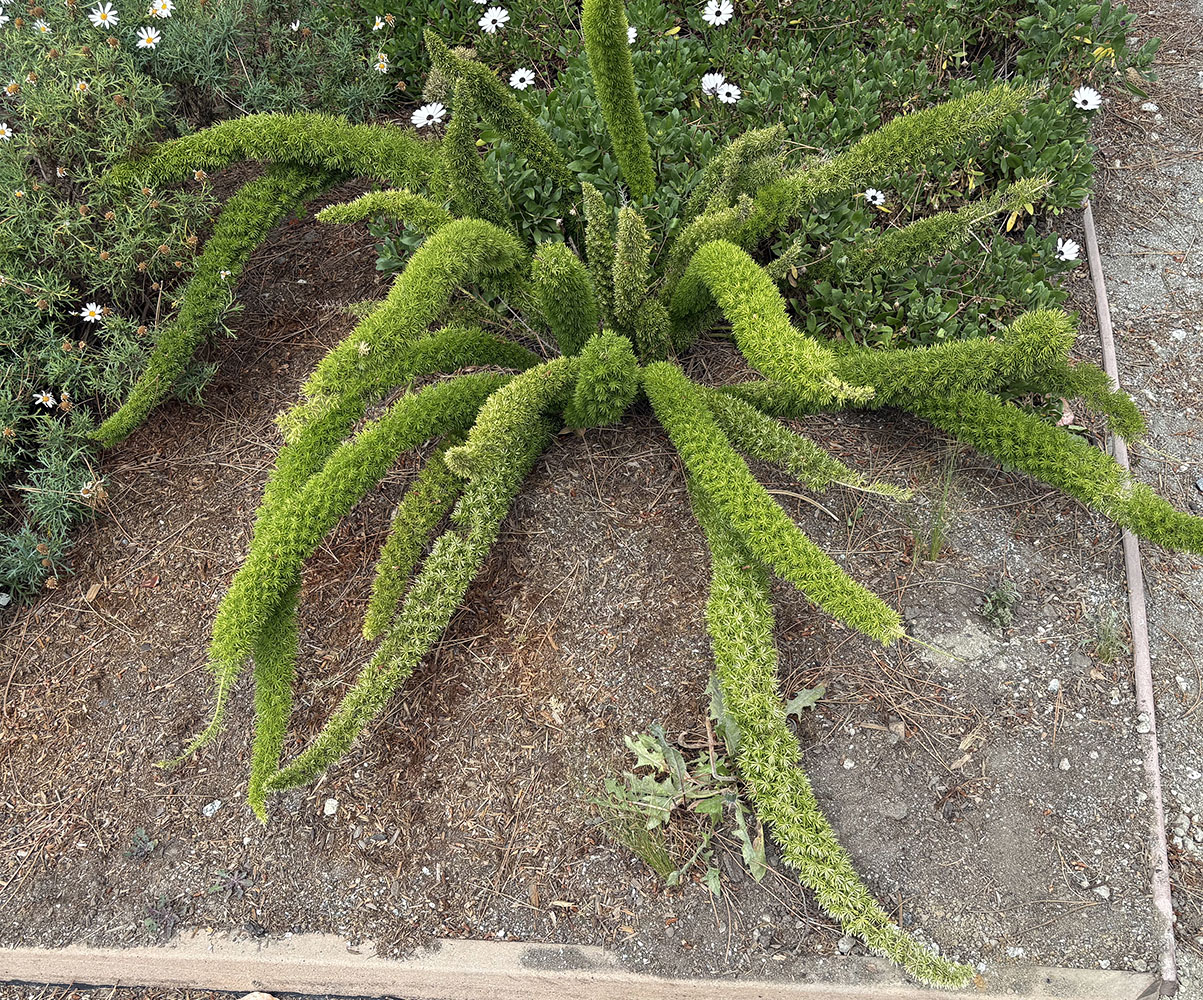
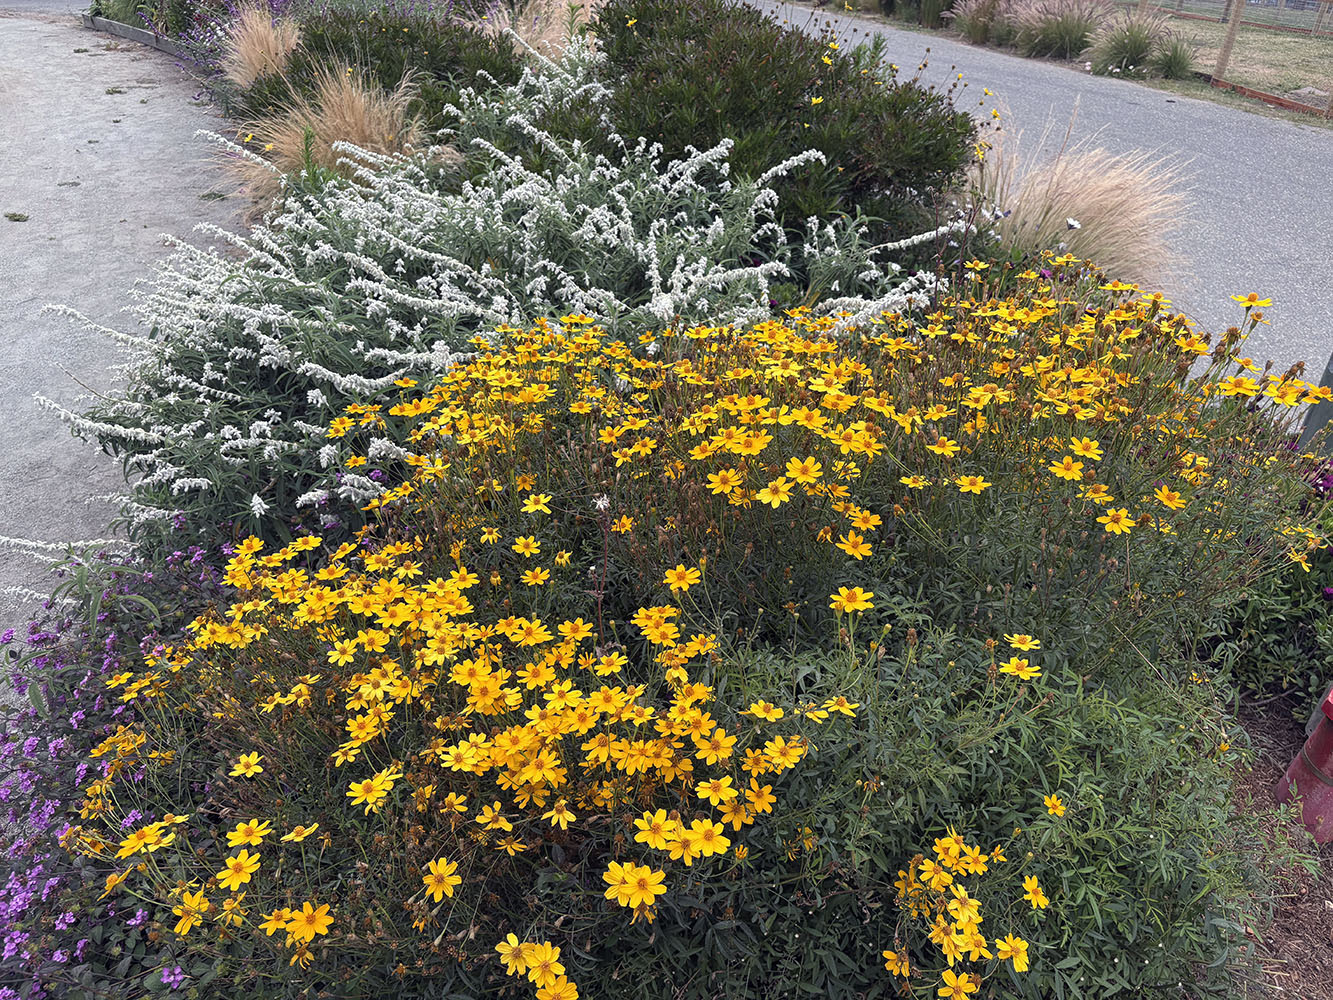
LANDSCAPING
We have never stayed at a campground that was more landscaped and attended to . . .

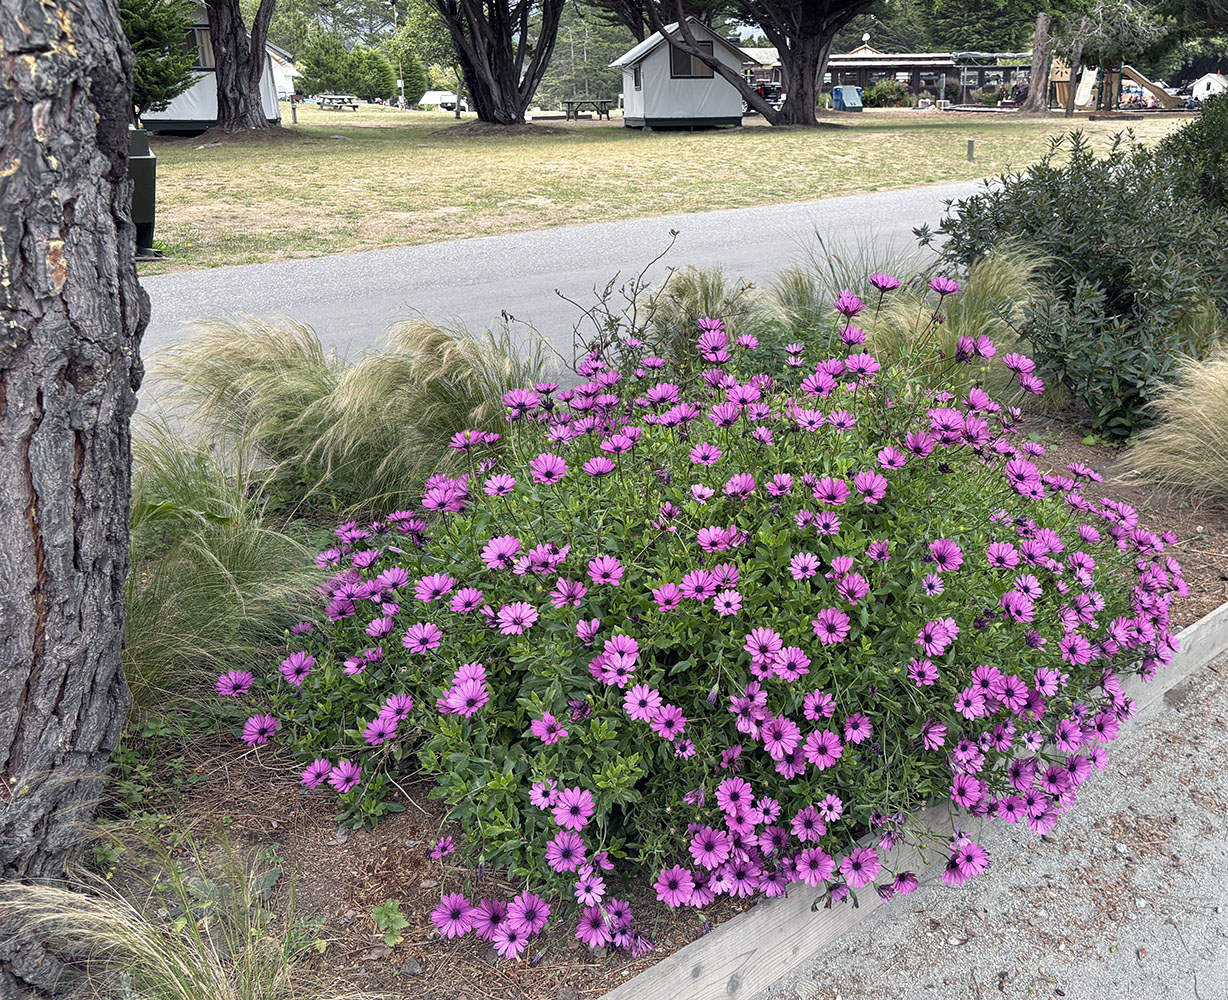
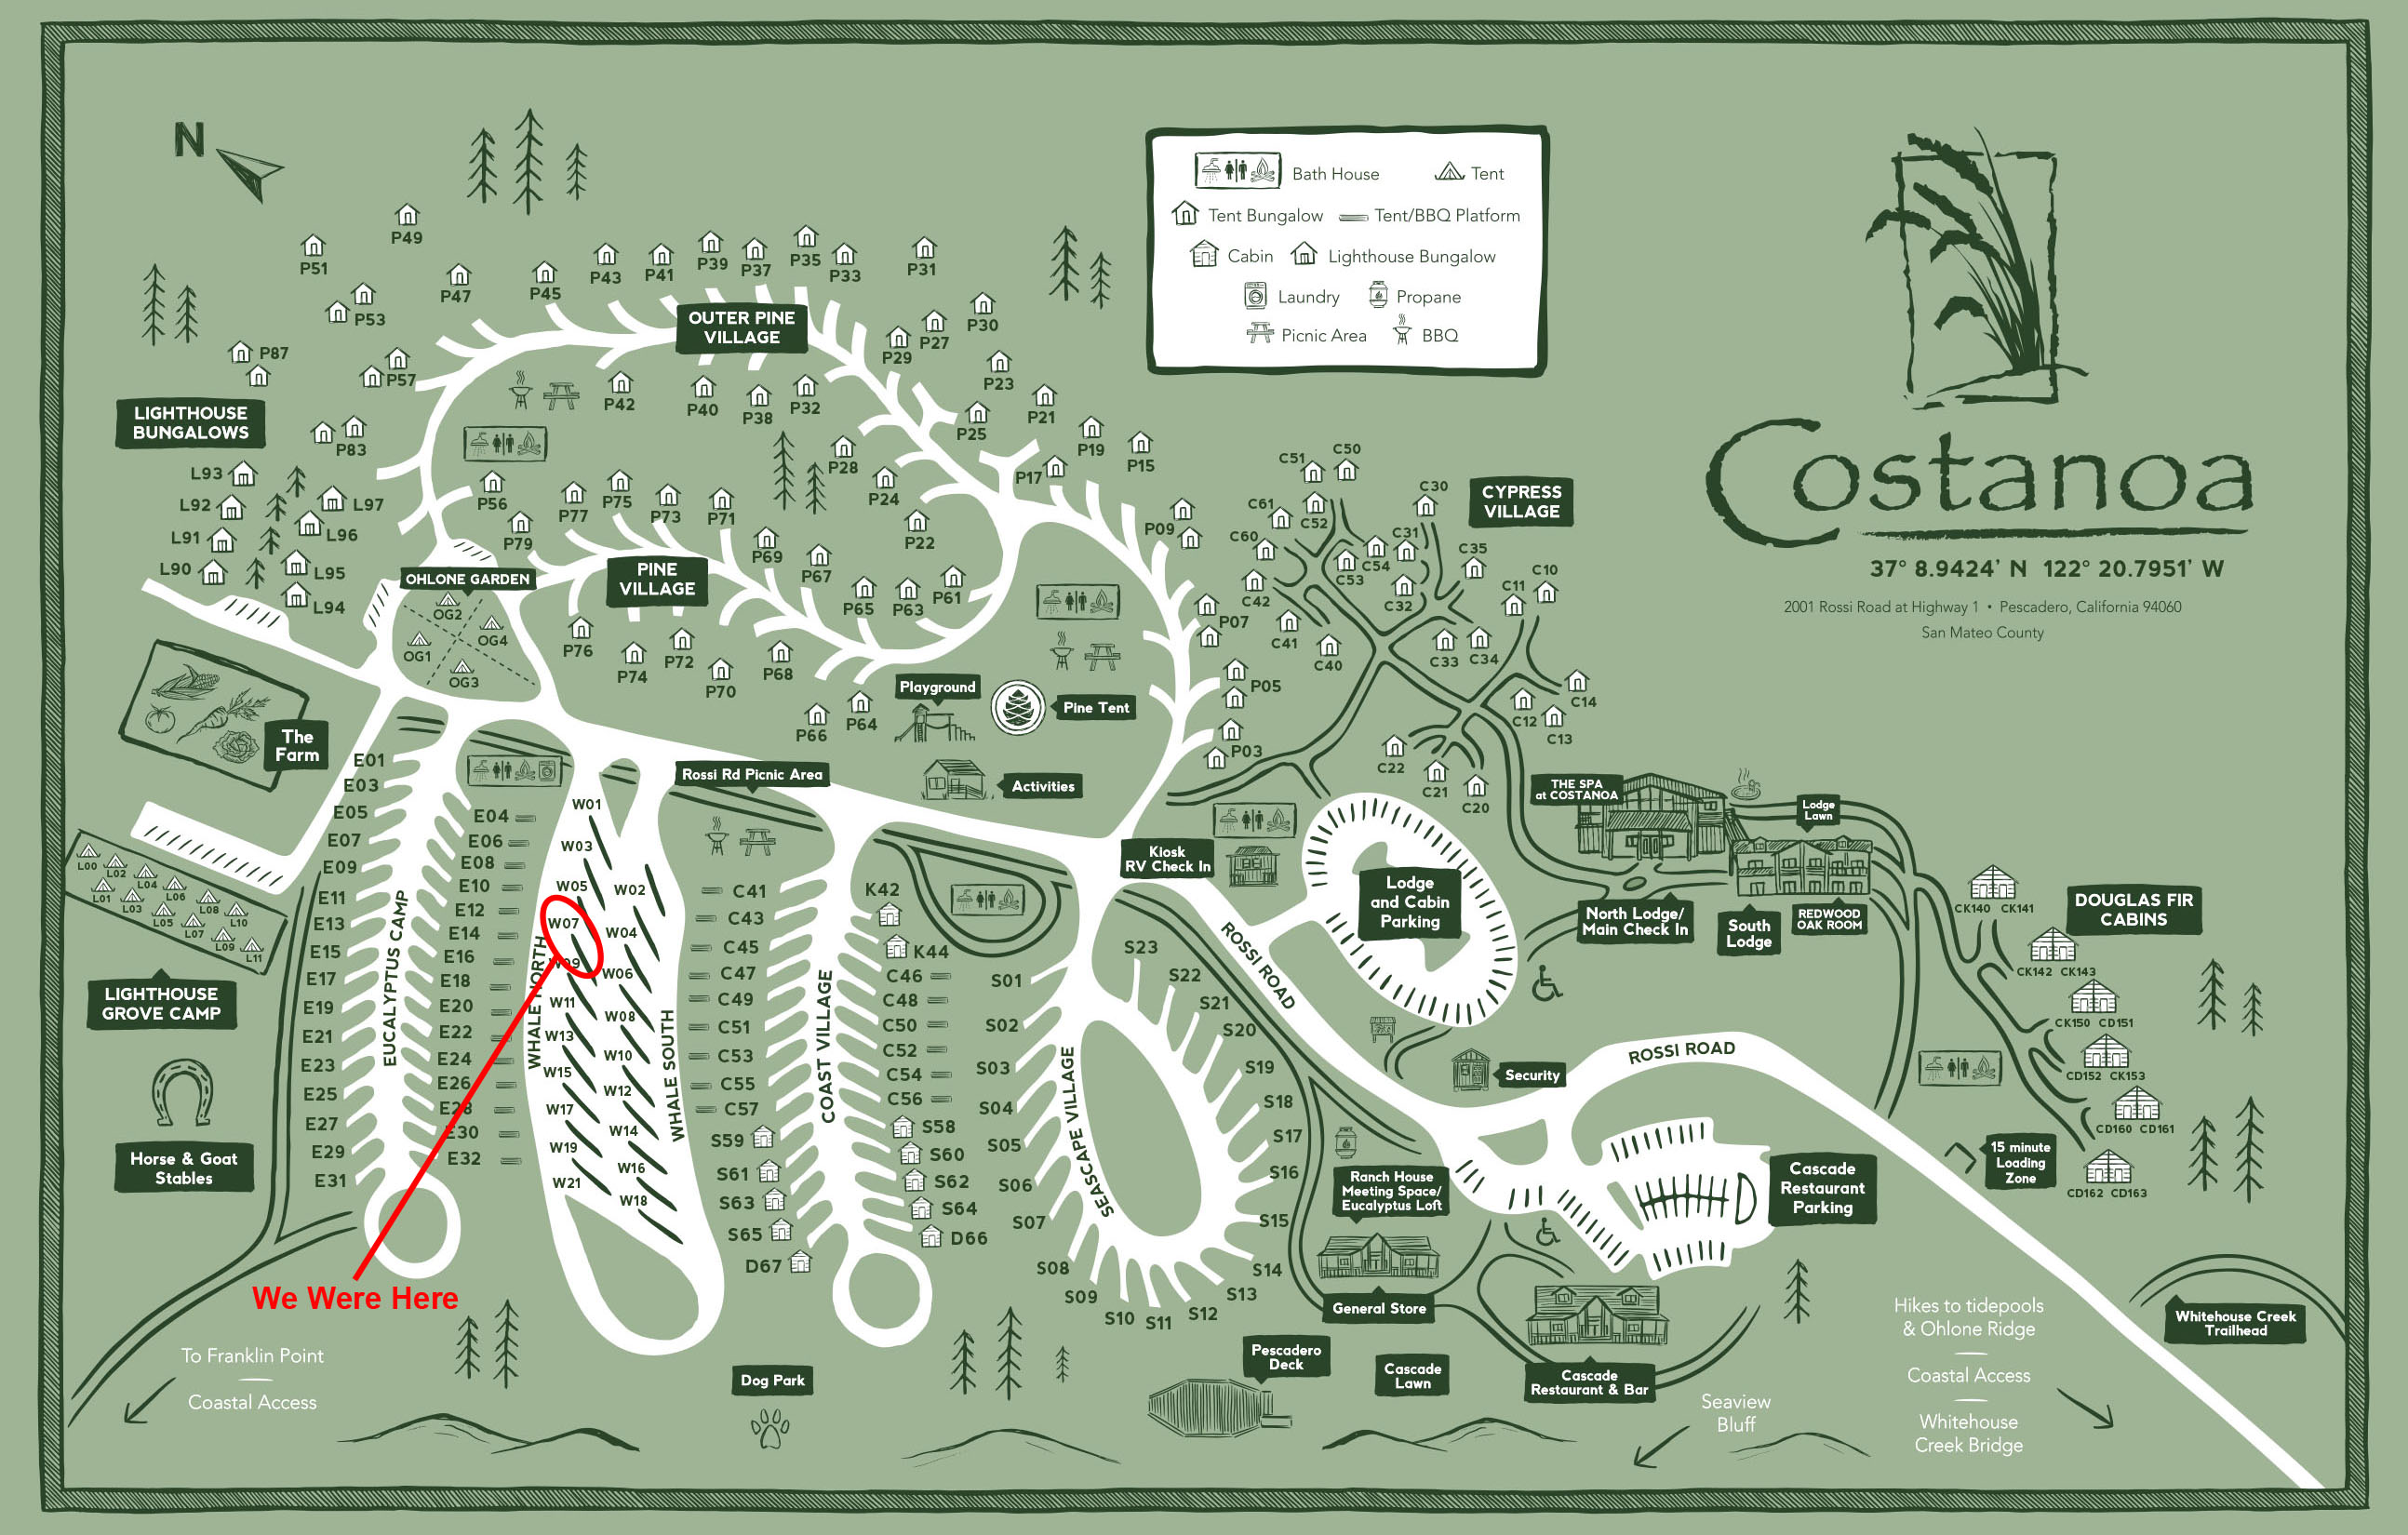
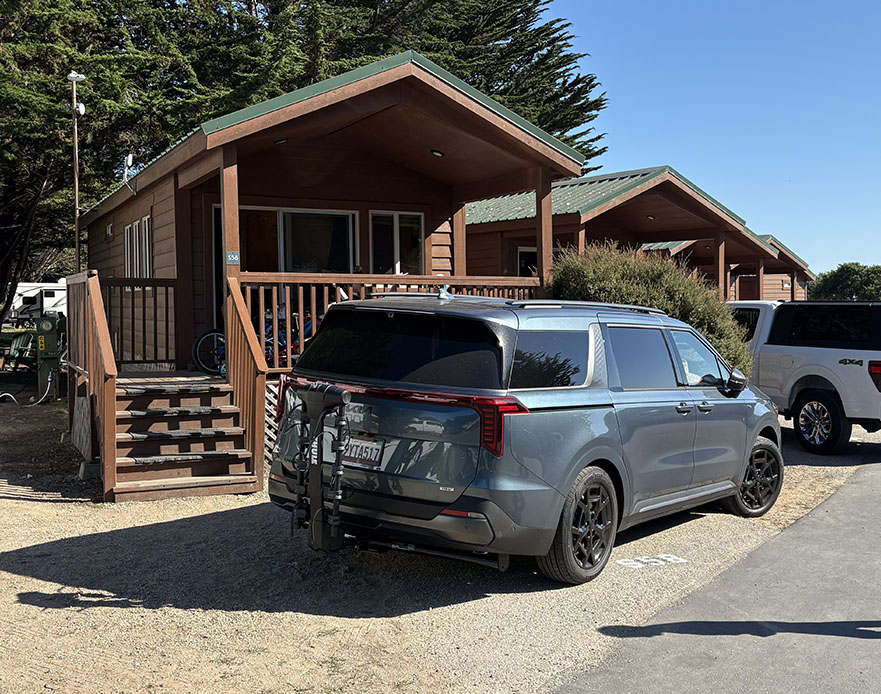
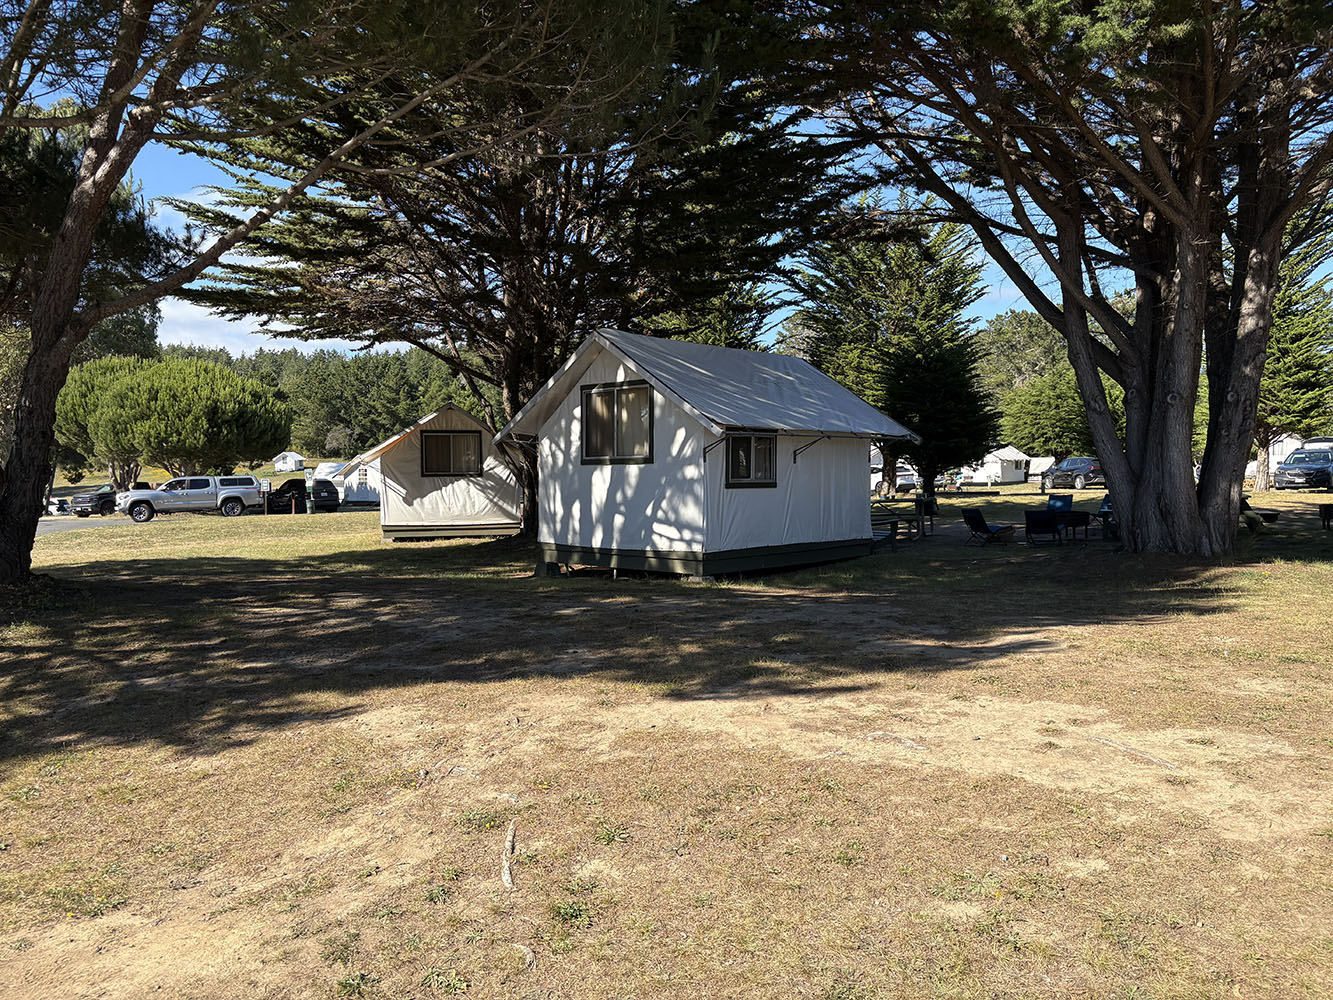
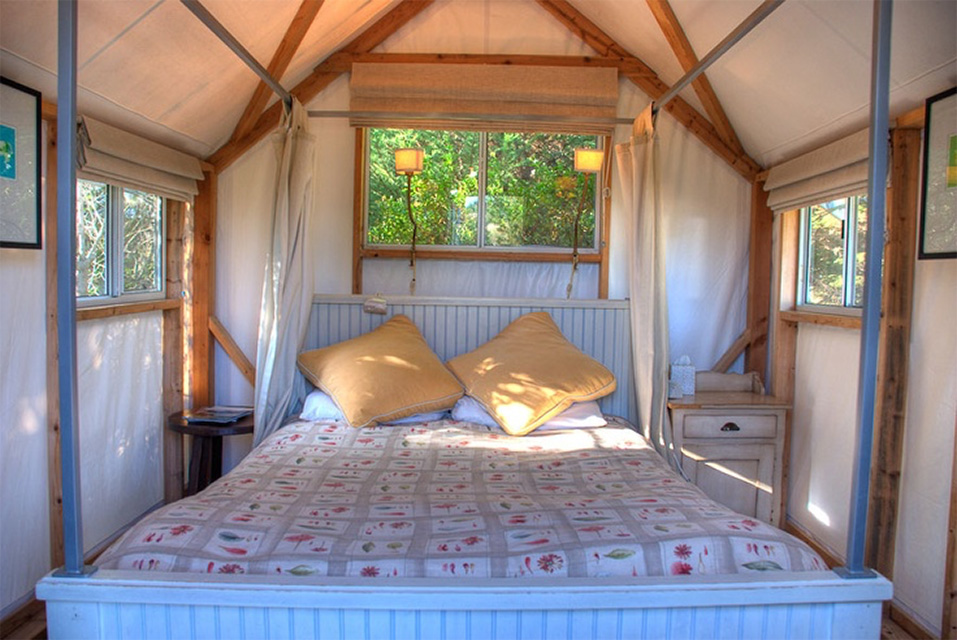
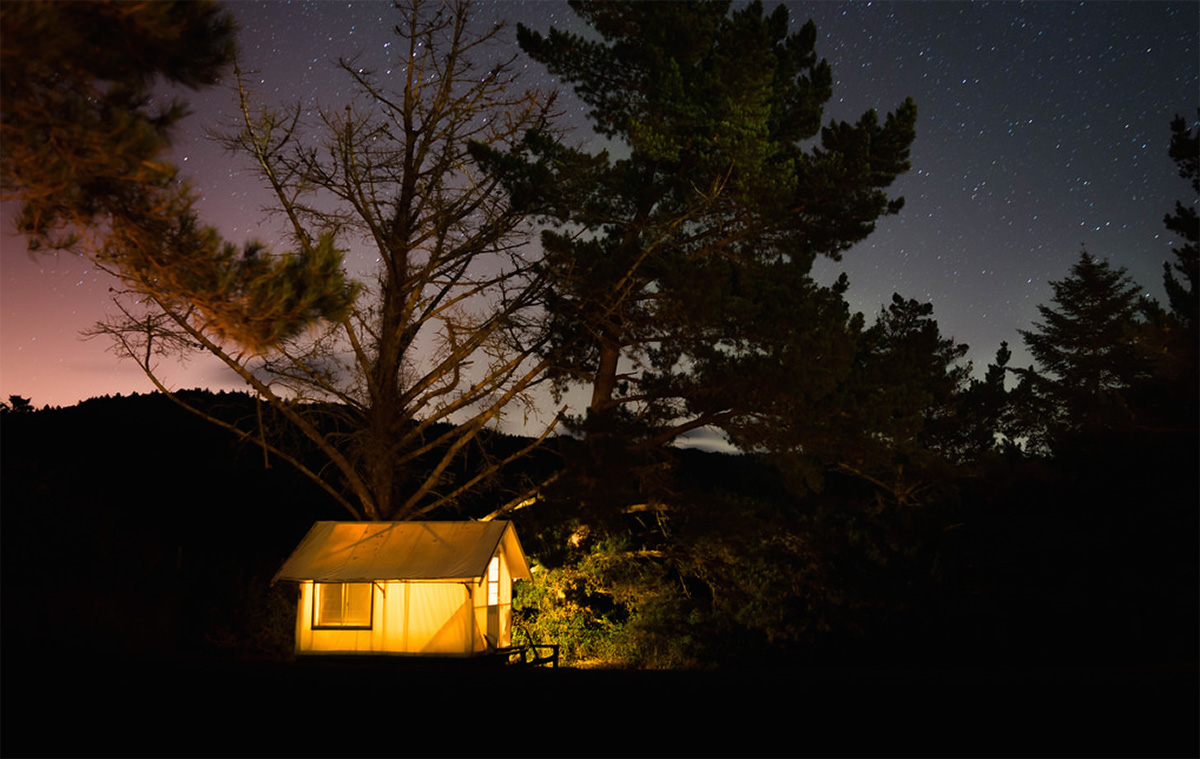
CAMPSITE TYPES
Besides the typical RV back in and pull through sites, there were dedicated areas for tent campers as well as glampers who just want a room . . .
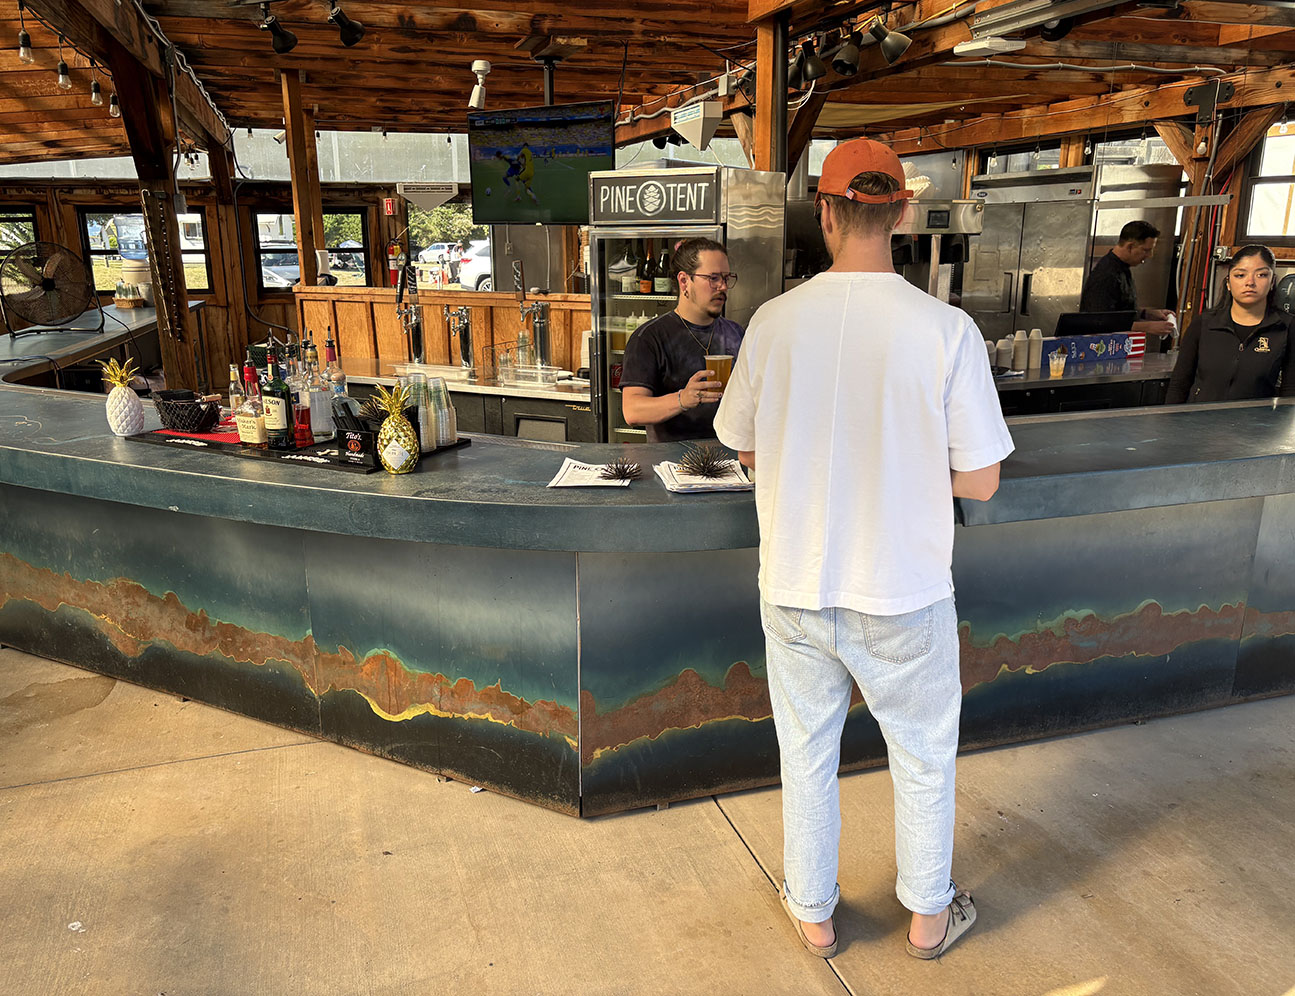
THINGS TO DO

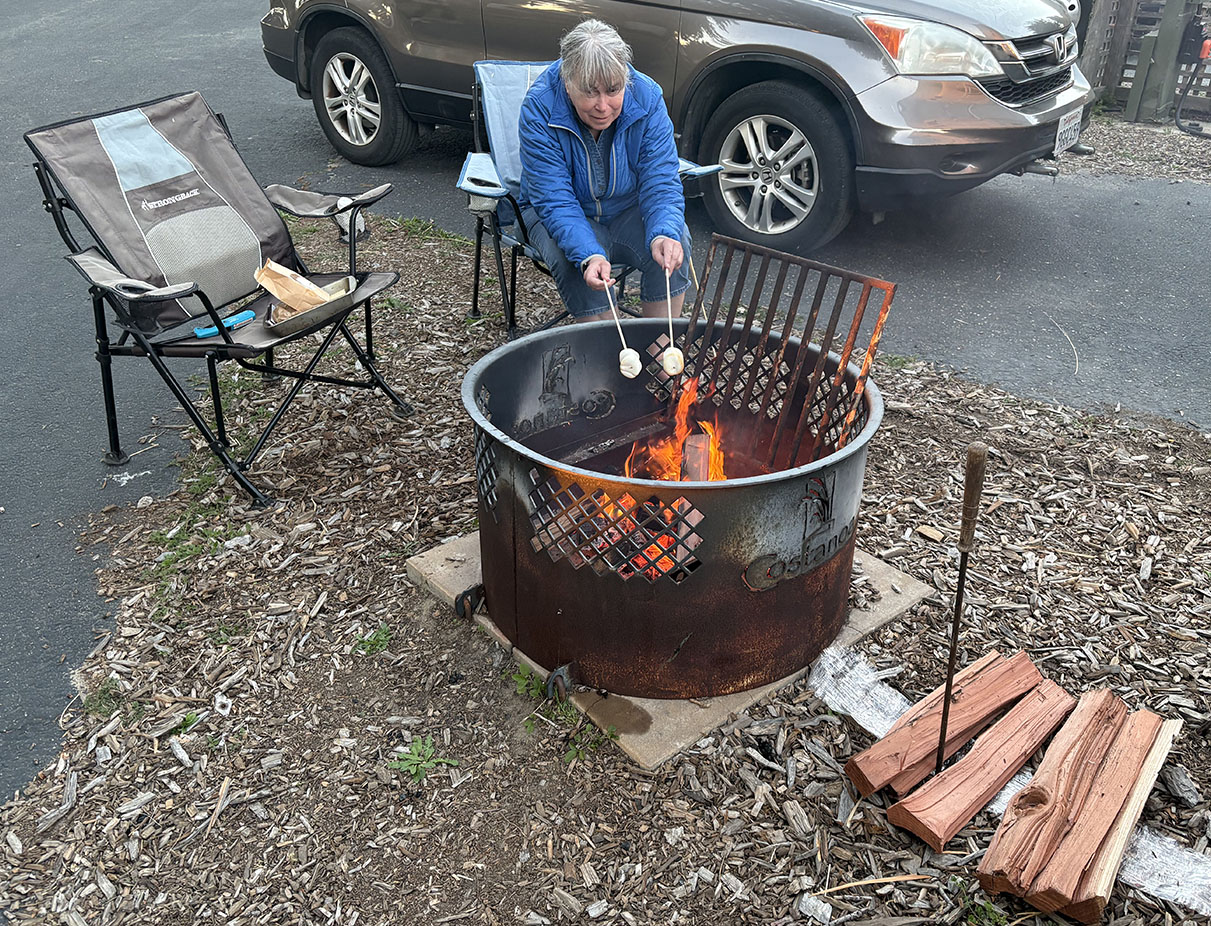
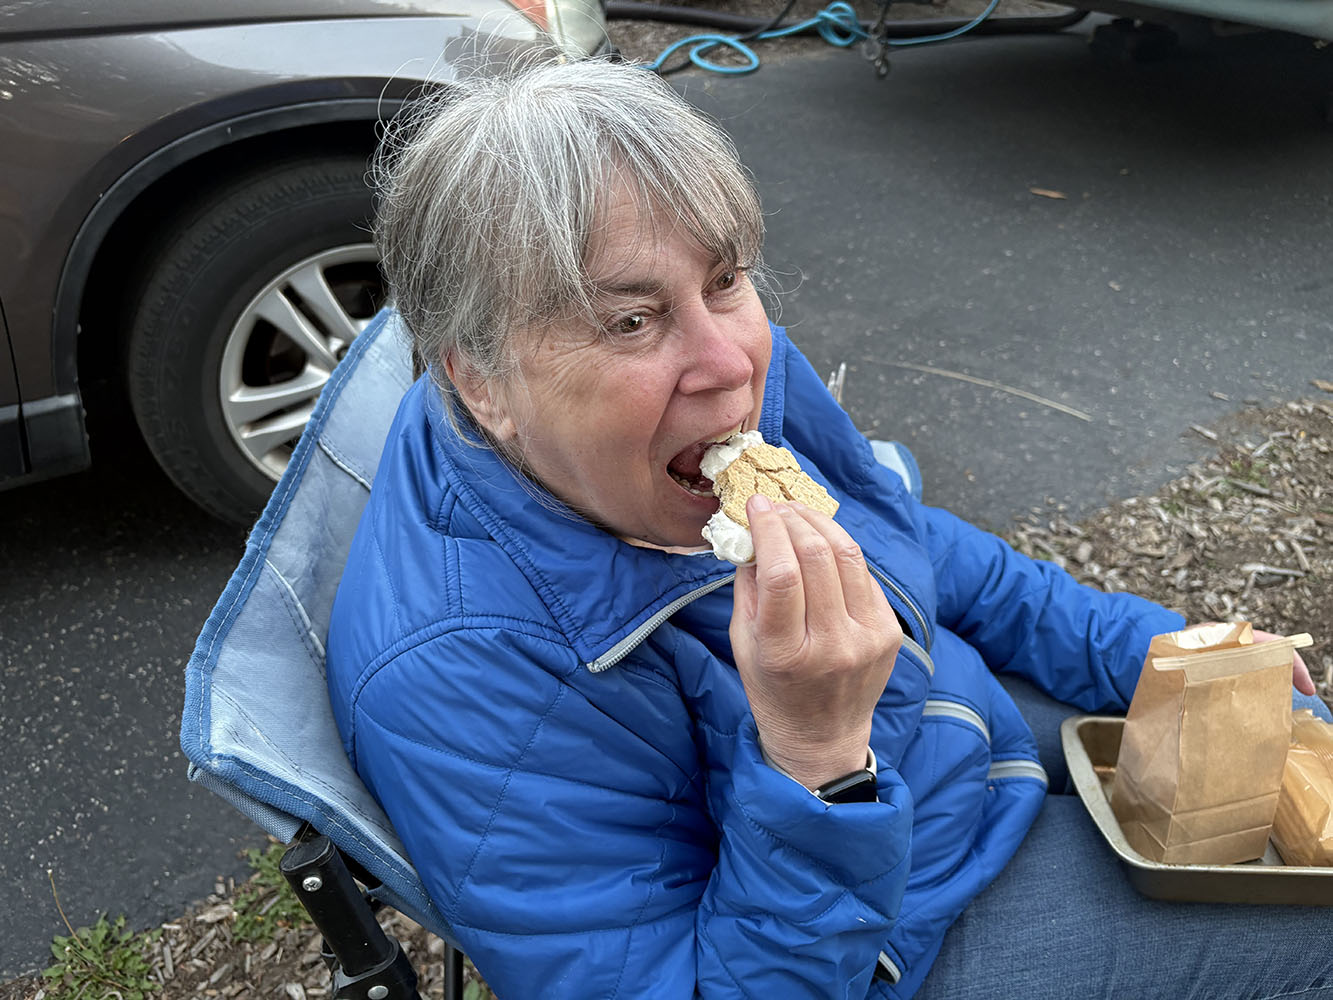
S’MORES