
Anatomy of an RV Water Leak
Postscript to Anatomy of an RV Leak
My wife said that I’m “fearless” when I do RV repairs. On the other hand, I’d describe my attitude as something between the OZ’s Cowardly Lion and a bull in a China shop.
Anyway . . .
On our last (actually our first) Sea View RV outing, I noticed water leaking into one of our motorhome’s basement compartments. At first I brushed it off, hoping it would just solve itself and go away, but the water just kept a coming.
So when we returned home after our outing, I decided to try tracking down the cause of the water leak.
Here’s the story . . .
DISCOVERY

THE FIRST CUT IS THE DEEPEST
The leaking water lines ran underneath our shower tub and were pretty much inaccessible.
At first I thought the leak was coming from one or both of the basement 90-degree water line connections. But I wasn’t sure, and even if these connections were the cause, I couldn’t access them.
So . . .


THE SECOND CUT WAS A LOT EASIER
Now I knew that the leak originated under the shower tub . . . somewhere.
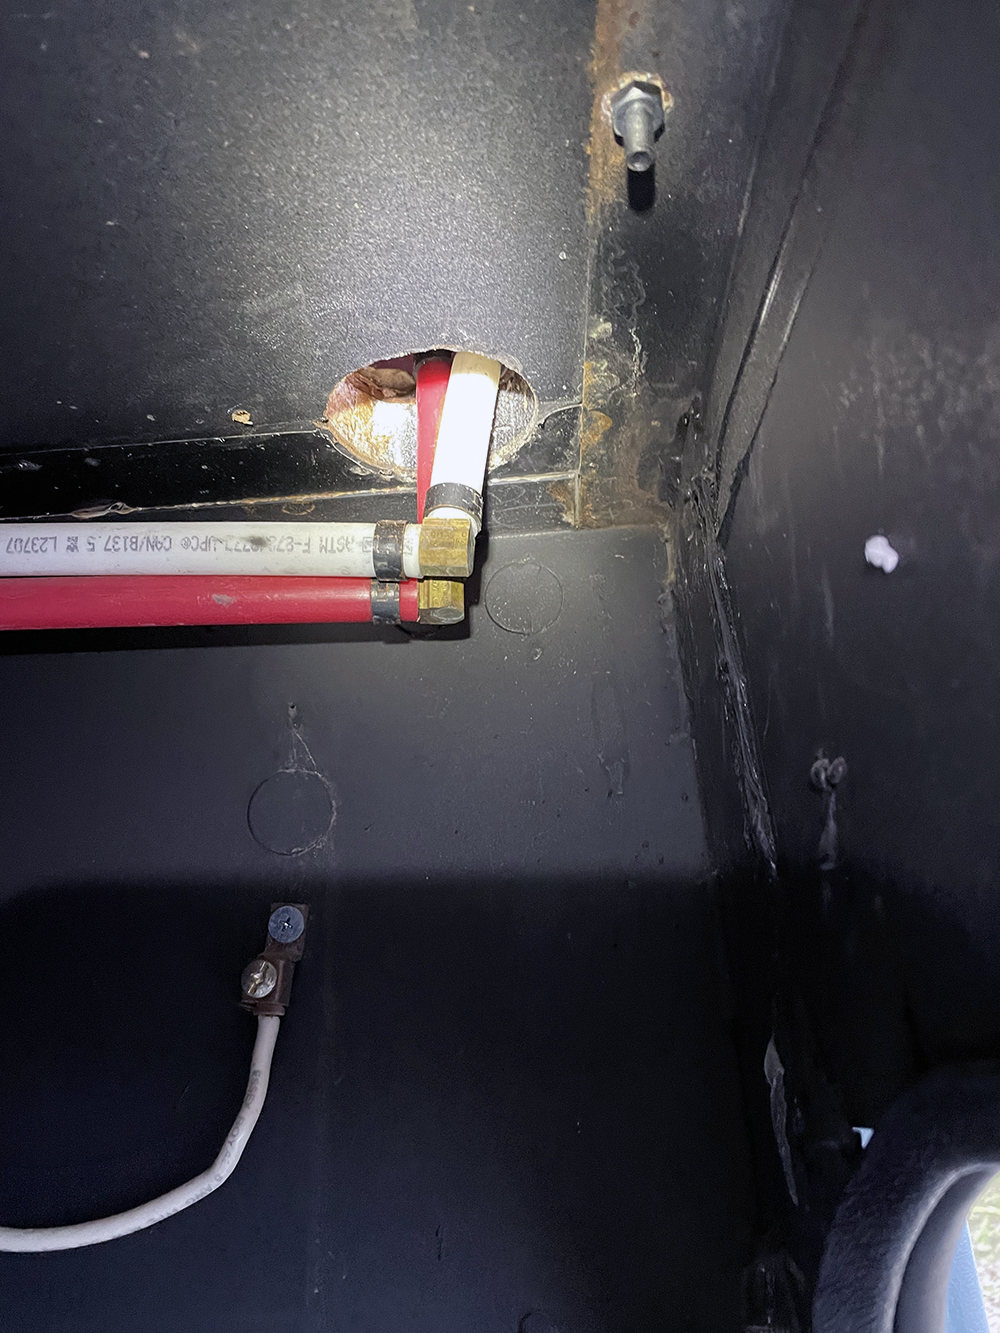
I decided to make another inspection hole so that I could see under the tub near the shower faucet . . .


FOUND THE LEAK!
To pin down the exact thing that was leaking, I figured the leak had to originate in the shower controls.


THE FIX
Originally, I did not want to attempt to fix the leak. We are leaving on another RV trip this Wednesday, and I didn’t want to do anything that would put our Sea View out of action.
But what the hell . . .
So, I needed to remove the leaking fitting and replace it with another. Easier said than done.
First, remove the shower head controls. No problem.
Next, remove the leaking fitting (a 1/2″ PEX elbow). Dicey. I used my Dremel tool with a rotary cutting head.
Finally, enlarge the shower head control opening so that attaching a new fitting wouldn’t be a problem.


CLEAN UP
Patching those holes . . .


Seems like u were always that way, Tom….just dive right in!
Tom, you did exactly what a professional plumber did to my bathroom walls.. looking for pipes that had disconnected.. somewhere behind those walls.. After an initial 4″square hole in one area, he went on to the second hole of 5″ x 10″, and then a final cut of the drywall about 2feet x 1.5 feet.. he found the problem. So, your methods were sound and obviously successful. BRAVO TOM !! The plumber figured that the old soldering had failed and the pipe separated. He fixed it immediately and all my smelly problems were solved.. HOORAY !! Now drywaller must stop by for estimate to repair the drywall. Guess I’ll be painting the bathroom in January.
Glad you could find the pesky leak and repair it so swiftly. Way to go Tom!
PS Love the Calico cat on roof shot.. wayyyy cool.
How I wish I had your enthusiasm for any project on my coach.
Tom, I bought a DEPSTECH Dual Lens Industrial Endoscope from Amazon, it really helps in looking for problems in inaccessible places in the motorhome.
Got a scope
Not only are you fearless, but also patient as a Buddha fixing problems in small spaces. I can just feel my knees crying out trying to repair this leak . . . Good job Uncle Tom!
Kneepads