
About that Porch Addition . . .
We’ve been working on our new room addition for about 3 weeks which is the reason for my lack of blog posts (until lately).
At first the progress was fast — probably because I had a lot of energy, but slowed down after I put up the three frame walls.
Here’s a photo log of those 3 weeks . . .
THE WEATHER HAS BEEN LESS THAN PERFECT
While it’s not hot, it has been rainy and now cold (for us).
SUPPLIES ARRIVED
For a small room, a fair amount of lumber is required. As it turned out, I under-estimated my 2 x 4 needs by about 50%.

Lumber Delivery
This is where our Jeep came in handy . . .

MOVING & EXTENDING & FRAMING

Moved the Porch Storage Drawer 1 Foot Over
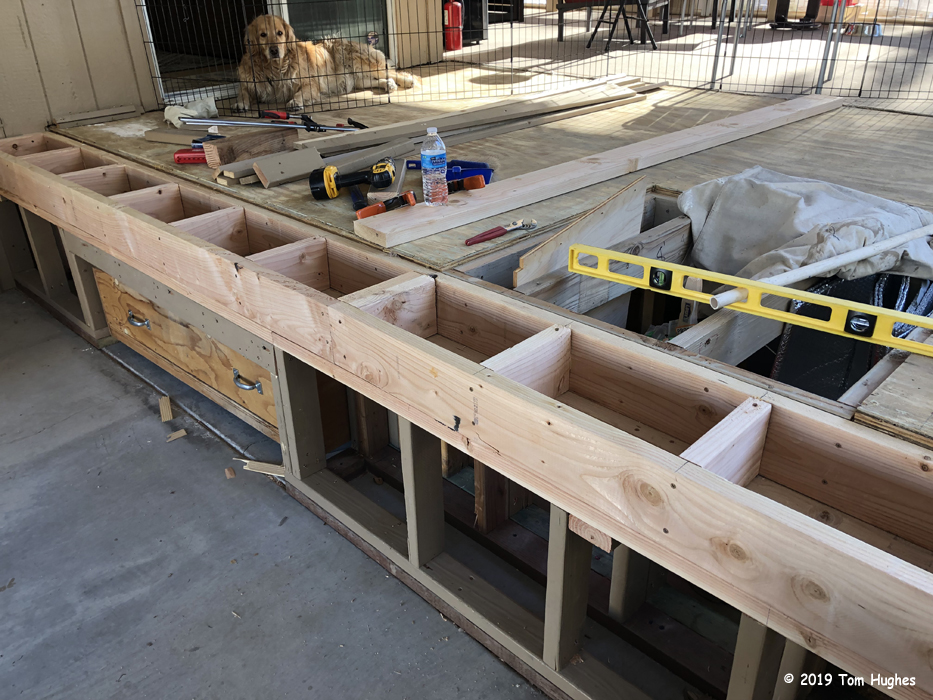
Extended the Floor by 1 Foot

Framed All Walls + Stairs
ODDS & ENDS
The “minor” tasks can chew up a lot of, if not the most, time and energy . . .

Waterproofed Roof Post

Braced a Wall

Pre-Painted Exterior Wall Panels
CLOSET ROOF UP
The small roof that covers our room addition’s closet was next to go up. The roof was in two parts — each part 3/4″ plywood covered with an RV “rubber roof”. Actually, it’s some sort of synthetic material called Superflex. The Superflex is glued onto each sheet of plywood using a water-based adhesive that we’re pretty sure is Elmer’s Glue.

Elmer’s Glue?
Anyway, we used a paint roller to spread the Elmer’s Glue all over each plywood sheet, then used a padded squeegee to flatten out the Superflex and remove all the air bubbles. For the most part it worked out ok.

Get Those Air Bubbles Out
After letting the Elmer’s Glue dry for a day, we next attached a brown-colored water drip edge.

Roof Drip Edge
Finally, both sections of the rubber roof are fastened to the roof rafters.

Closet Roof Attached
ONE WALL UP
After attaching the rubber roof, next step was to put up the closet’s exterior panels.

Closet Wall Finished (except for trim)
WHAT’S NEXT?
The door, sliding door, and two windows will arrive over the next month.
So I have to prepare a frame for each window, put up the room’s roof, and sheath the remaining two walls.
RANDOM MOMENT . . .


Good teamwork Tom & Jan! Let me know when it’s done for me to move in ! 😉 Mary
You’re on